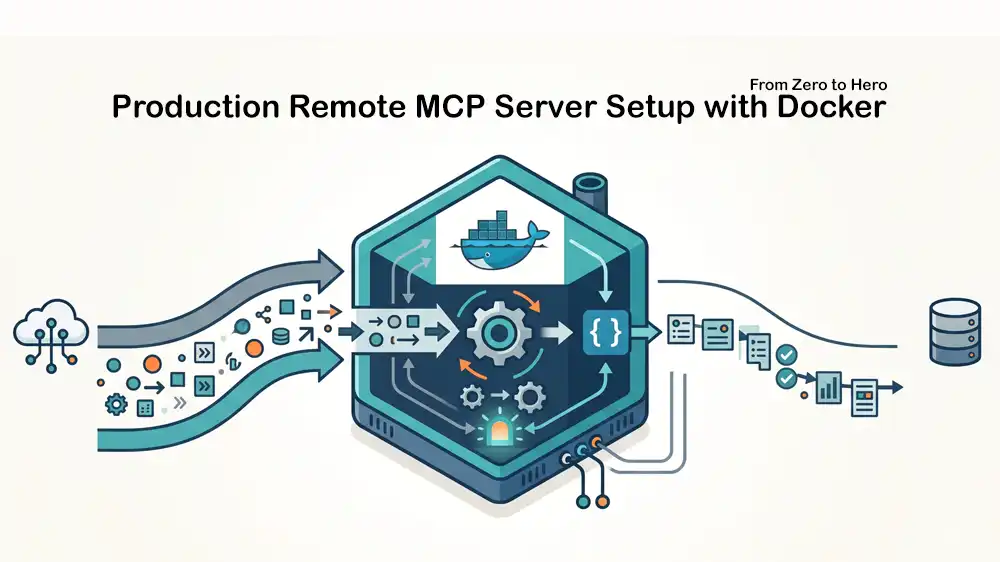
How to Deploy a Remote MCP Server with Docker, Streamable HTTP, TLS, and a Custom Domain
Most Model Context Protocol (MCP) environments stop at localhost. But to integrate AI agents across distributed and scalable infrastructure, you must deploy a remote MCP server with Docker. This establishes an internet-accessible endpoint secured by TLS, allowing external agents to query your internal tools reliably.
To successfully deploy a remote MCP server with Docker, follow this guide covering Ubuntu setup, container orchestration, reverse proxy configuration, and post-deployment validation.
Table of Contents
Understanding Local Stdio vs. Remote HTTP (SSE)
By default, the Model Context Protocol uses a communication method called stdio (Standard Input/Output). Think of stdio like a hardwired, physical cable connecting two programs on the same computer. If you run an AI assistant on your local machine, it uses stdio to securely read files or execute scripts on that very same machine. It is fast and highly secure, but your tools are entirely trapped on that single piece of hardware.
To break out of this limitation and allow external AI agents to interact with your production infrastructure, you need an internet-accessible connection. This is why you must deploy a remote MCP server with Docker.
When you transition from a local script to a remote server, the communication method changes from local stdio to HTTP with SSE (Server-Sent Events).
Here is how that works in practice:
- Client to Server (HTTP POST): When the external AI agent wants to execute one of your tools, it sends a standard HTTP POST request. This is the same standard protocol your browser uses to submit a login form.
- Server to Client (SSE): Because AI tasks and infrastructure queries can take time to process, standard HTTP responses often time out. To solve this, the MCP server opens a continuous, one-way stream back to the AI client using SSE. Think of SSE like a live radio broadcast; the connection stays open permanently, allowing the server to push real-time event updates and data back to the AI the exact moment they are ready.
By wrapping your tools in this HTTP/SSE architecture, you safely convert a localized desktop script into a distributed, internet-ready API.
Prerequisites to Deploy a Remote MCP Server with Docker
Before you deploy a remote MCP server with Docker, ensure you have:
- A fresh Ubuntu 22.04, 24.04, or newer with root or sudo privileges. We recommend using a robust Linux VPS for optimal container network performance.
- A domain name with an A-record pointing to your server’s public IPv4 address.
Step 1. Ubuntu OS and Engine Setup
The first step to deploy a remote MCP server with Docker involves installing the container engine itself and securing the OS.
Connect to your server via SSH and run the following commands to update packages and configure the firewall:
sudo apt update && sudo apt upgrade -y
sudo apt install ufw -y
sudo ufw allow OpenSSH
sudo ufw enable
Next, add the official repository and install the Docker engine and Compose plugin:
sudo apt install ca-certificates curl -y
sudo install -m 0755 -d /etc/apt/keyrings
sudo curl -fsSL https://download.docker.com/linux/ubuntu/gpg -o /etc/apt/keyrings/docker.asc
sudo chmod a+r /etc/apt/keyrings/docker.asc

echo \
  "deb [arch=$(dpkg --print-architecture) signed-by=/etc/apt/keyrings/docker.asc] https://download.docker.com/linux/ubuntu \
  $(. /etc/os-release && echo "$VERSION_CODENAME") stable" | \
  sudo tee /etc/apt/sources.list.d/docker.list > /dev/null

sudo apt update
sudo apt install docker-ce docker-ce-cli containerd.io docker-buildx-plugin docker-compose-plugin -y
Step 2. Create Project Directory and Application Files
As we deploy a remote MCP server with Docker, the application code requires a framework capable of handling asynchronous HTTP streams. We will use the official Model Context Protocol SDK via the FastMCP wrapper.
Run the following commands to seamlessly deploy a remote MCP server with Docker in your target directory. We will create the workspace in /opt/mcp-server:
sudo mkdir -p /opt/mcp-server
cd /opt/mcp-server
Create the main Python application file directly from your terminal:
sudo nano /opt/mcp-server/server.pyAdd:
from mcp.server.fastmcp import FastMCP

# Initialize the server and bind host/port HERE to bypass the strict DNS rebinding lock
mcp = FastMCP("ProductionRemoteServer", host="0.0.0.0", port=8000)

@mcp.tool()
def check_system_health() -> str:
    """Returns the remote system health status."""
    return "All remote systems are operational and secure."

if __name__ == "__main__":
    # Run the transport
    mcp.run(transport="sse")
Save and close the file. Create the dependency file:
sudo cat << 'EOF' > requirements.txt
mcp
fastmcp
uvicorn
EOF
Step 3. Containerize the Infrastructure
We containerize the application to deploy a remote MCP server with Docker reliably. Create the Dockerfile in the same directory:
sudo cat << 'EOF' > Dockerfile
FROM python:3.11-slim
WORKDIR /app
COPY requirements.txt .
RUN pip install --no-cache-dir -r requirements.txt
COPY server.py .
EXPOSE 8000
CMD ["python", "server.py"]
EOF
When you deploy a remote MCP server with Docker in production, use a docker-compose.yml to define network isolation. Notice how we bind port 8000 strictly to 127.0.0.1 so it is not exposed directly to the internet, bypassing UFW:
Learn to deploy a remote MCP Server with Dockersudo cat << 'EOF' > docker-compose.yml
services:
  mcp-backend:
    build: .
    ports:
      - "127.0.0.1:8000:8000"
    env_file:
      - .env
    volumes:
      - ./data:/app/data
    restart: unless-stopped
    healthcheck:
      test: ["CMD", "curl", "-f", "-H", "Accept: text/event-stream", "http://127.0.0.1:8000/sse"]
      interval: 30s
      timeout: 10s
      retries: 3
EOF
Create the persistent environment file and data directory required to safely deploy a remote MCP server with Docker:
sudo mkdir -p data
sudo cat << 'EOF' > .env
# Persistent Environment Variables
ENVIRONMENT=production
MCP_LOG_LEVEL=info
EOF
Now start the stack with:
sudo docker compose up -dStep 4. Configure Nginx and TLS
You cannot safely deploy a remote MCP server with Docker over the public internet without encrypted TLS. Install Nginx and Let’s Encrypt Certbot:
sudo apt install nginx certbot python3-certbot-nginx -y
sudo ufw allow 'Nginx Full'
A common mistake when teams deploy a remote MCP server with Docker is failing to disable proxy buffering. Standard reverse proxies buffer HTTP responses, which immediately stop continuous SSE streams.
Create the Nginx server block and remember to replace the domain name with your actual domain:
sudo cat << 'EOF' > /etc/nginx/sites-available/mcp
server {
    listen 80;
    server_name mcp.yourdomain.com;

    location / {
        proxy_pass http://127.0.0.1:8000;
        proxy_http_version 1.1;
        proxy_set_header Connection '';

        # Crucial for Server-Sent Events (SSE)
        proxy_buffering off;
        proxy_cache off;
        chunked_transfer_encoding on;
        proxy_set_header Host $host;
    }
}
EOF
Enable the site, restart Nginx, and request the TLS certificate:
sudo ln -s /etc/nginx/sites-available/mcp /etc/nginx/sites-enabled/
sudo nginx -t
sudo systemctl reload nginx
sudo certbot --nginx -d mcp.yourdomain.com
Let’s Encrypt certificates are only valid for 90 days. Fortunately, the Certbot installation automatically configures a systemd timer that runs twice a day to renew any certificate within 30 days of expiration.
Verify that the auto-renewal timer is loaded and active in the background:
sudo systemctl status certbot.timerThen, execute a dry run with the following command:
sudo certbot renew --dry-runStep 5. Post-Deployment Operational Checks
After you deploy a remote MCP server with Docker, you must verify that the SSE connection remains stable and successfully routes traffic.
Test the health of your SSE stream using curl:
curl -N -H "Accept: text/event-stream" https://mcp.yourdomain.com/sseYou should now receive an immediate HTTP 200 response followed by a clean, hanging connection pushing the endpoint event stream.
Now your remote AI agents can connect securely.
Production Architecture and Hardware Requirements
Planning to deploy a remote MCP server with Docker requires considering hardware latency, disk I/O, and isolation limits. Because MCP tools often interact with secure local file systems, shell environments, or internal databases, strict container isolation on bare-metal or dedicated virtualized infrastructure is better.
Deploy the MCP server on a PerLod Linux VPS and register a dedicated domain or subdomain for the endpoint. This ensures absolute root control over your AI agents’ environment and maintains strict security boundaries separate from your primary application infrastructure.
Conclusion
It is a massive architectural upgrade to securely deploy a remote MCP server with Docker compared to standard local implementations. By provisioning a clean Ubuntu environment, establishing strict container networks, accommodating recent SDK API changes, and leveraging Nginx with properly configured SSE streaming rules, your AI agents can safely access robust external data endpoints.
We hope you enjoy this guide.
FAQs
Can multiple AI agents connect to the remote server simultaneously?
Yes. The container uses Uvicorn, which natively handles concurrent requests. Each AI client gets its own independent stream, allowing multiple agents to query your tools at the same time without blocking the server.
Does the remote MCP server maintain state between agent requests?
The server is stateless by default. If your tools need to save data, like caches or logs, you must mount a persistent Docker volume or connect to an external database.
Why does the protocol use SSE instead of WebSockets for remote endpoints?
MCP uses SSE because it runs over standard HTTP. This makes it naturally compatible with standard proxies like Nginx, load balancers, and firewalls without requiring complex configuration.
Can I run multiple distinct MCP servers on the same VPS?
Yes. Add each server as a separate service in your docker-compose.yml with unique internal ports. Then, configure Nginx to route different subdomains to those specific ports.

