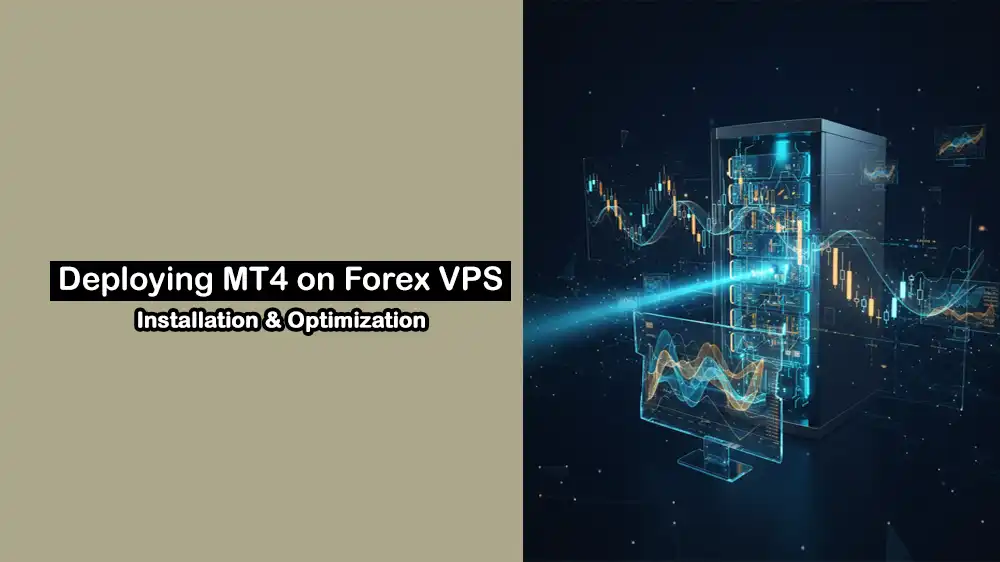
How to Set Up a Forex VPS for MT4: Installation and Optimization
MetaTrader 4 (MT4) remains the most popular trading platform among forex traders; however, running it on your personal computer comes with limitations, including power outages, internet disruptions, and the need to keep your PC running 24/7, which can disrupt automated trading strategies and cost you profitable opportunities. You can install MT4 on a Forex VPS to resolve these issues by providing uninterrupted uptime, ultra-low latency connections to broker servers, and the ability to run Expert Advisors continuously without relying on your local infrastructure.
In this guide, you will learn to set up MT4 on a Windows Forex VPS, connect with Remote Desktop, improve performance, and make MT4 start automatically for smooth trading.
Table of Contents
Prerequisites To Install MT4 on a Forex VPS
Before you start your MT4 setup, you must be sure to have:
- Forex VPS running Windows with at least 2 GB RAM and 10 GB storage. PerLod Hosting offers reliable options for this.
- VPS credentials, IP address, username, and password from your hosting provider.
- Stable internet connection.
- MT4 installation file from your broker or the MetaQuotes official website. Or, you can directly download it on Forex VPS.
Once you are done with these prerequisites, proceed to the following steps to install MT4 on a Forex VPS.
Connect to Your Forex VPS via Remote Desktop
Before installing MetaTrader 4, you need to establish a secure connection to your server. You can use the Remote Desktop tool to connect to your server using the IP address and credentials provided by Perlod or your host to manage files and run software remotely.
On Windows, you can follow these steps to connect your Forex VPS:
Press Windows + R keys to open the Run dialog and type mstsc and press Enter to launch Remote Desktop Connection.
You must enter your Forex VPS IP address in the Computer field, click Show Options, and enter your username. Click Connect, enter your password when prompted, and click Yes if a security certificate warning appears.
On macOS, you can follow these steps to connect your Forex VPS:
Download Microsoft Remote Desktop from the App Store, open the application, and click Add PC. Enter your Forex VPS IP address and credentials and connect to establish the remote session.
Once you are connected to your Forex VPS, proceed to the next step to download and install MT4.
Download MT4 Installer
From your Forex VPS, open a web browser and download the installer directly to the VPS rather than downloading it to your local computer and transferring it later.
Option 1: Download MT4 from the Official MetaQuotes Website
From your browser, navigate to the following URL:
www.metatrader4.com/en/downloadClick the Download button for the Windows version and save the installer file, mt4setup.exe, to your desktop.
Option 2: Download MT4 from the Broker’s Website
Visit your broker’s official website from the VPS browser and log in to your client area or navigate to the platforms section. From there, download the MT4 installer pre-configured with your broker’s servers.
This option automatically includes broker server settings.
Install MT4 on a Forex VPS
With the installer downloaded to your desktop, you are ready to set up the platform. The installation wizard will guide you through the necessary steps to get the terminal running in minutes.
For a basic installation:
- Double-click the downloaded installer file, mt4setup.exe.
- Click Next when the installation wizard appears.
- Accept the license agreement and click Next.
- The platform will begin installing to the default directory.
- Wait for the installation to complete and click Finish to complete the installation.
For installing multiple MT4 instances:
If you need to run multiple broker accounts simultaneously, follow these steps:
- When the installer launches, click Settings before proceeding.
- Modify the installation path by adding a unique identifier.
- Change C:\Program Files\MetaTrader 4\ to C:\Program Files\MetaTrader 4 – 1\ for the first instance.
- For additional installations, use MetaTrader 4 – 2, MetaTrader 4 – 3, etc.
- Click Next to complete the installation in the custom directory.
This ensures each MT4 instance operates independently without conflicts.
Configure MT4 After Installation
Installing the software is just the first step. To prepare the platform for live trading, you need to connect your broker account and adjust specific settings that ensure MT4 runs smoothly in a server environment.
Log In to Trading Account
To log in to your trading account, launch MT4 from the desktop shortcut or Start menu.
- The Open an Account dialog will appear automatically.
- Select your broker’s server from the list.
- Enter your login credentials provided by your broker.
- Choose between the Demo or Real account type.
- Click Login to connect to the trading server.
Enable Portable Mode for MT4
Portable mode keeps all MT4 data, including indicators, Expert Advisors, and templates, in the installation folder for easier management.
You must close MT4 completely before making changes. Right-click the MT4 desktop shortcut and select Properties.
Locate the Target field showing:
"C:\Program Files\MetaTrader 4 - 1\terminal64.exe"Add a space and /portable at the end. The modified target should read:
"C:\Program Files\MetaTrader 4 - 1\terminal64.exe" /portableClick OK to save changes. Launch MT4 and verify the data folder location by clicking File and Open Data Folder.
The data folder should now be inside your MT4 installation directory instead of the AppData folder.
Set Up MT4 Auto-Start on Forex VPS Reboot
One of the biggest risks in automated trading is a server restart that leaves your platform closed. By adding MT4 to the Windows Startup folder, you guarantee that your trading terminals open immediately every time the Forex VPS boots up.
To ensure MT4 launches automatically when your VPS restarts:
- Right-click the MT4 desktop shortcut and select Copy.
- Press Windows + R to open the Run dialog, type shell:startup, and press Enter.
- This opens the Startup folder at:
C:\Users\Administrator\AppData\Roaming\Microsoft\Windows\Start Menu\Programs\Startup- Right-click inside the folder and select Paste Shortcut.
- Repeat for each MT4 instance if running multiple platforms.
Your MT4 platforms will now start automatically whenever the VPS reboots.
Optimize Forex VPS Performance for MT4 Trading
A standard Windows installation is often configured for balanced energy usage rather than raw speed. To ensure your trades execute with the lowest possible latency and your terminal doesn’t lag during high-volatility market events, you should tune these system settings.
1. Adjust Power Settings:
Press Windows + R and type powercfg.cpl and select the High Performance power plan. This ensures your CPU runs at full capacity during trading hours.
2. Set MT4 Process Priority:
Press Ctrl + Shift + Esc to open Task Manager. Navigate to the Details tab and find terminal64.exe, which is the MT4 process. Right-click and select Set Priority to High. This prioritizes MT4 over background processes.
3. Add Windows Defender Exclusions:
Open Windows Security settings, go to Virus & threat protection, and Manage settings.
Scroll to Exclusions and click Add or remove exclusions. You must add your MT4 installation folders, for example:
C:\Program Files\MetaTrader 4 - 1\This prevents antivirus scans from interrupting trade executions.
Verify MT4 Installation on Forex VPS
Before you start live trading or enable your Expert Advisors, you must confirm the system is healthy.
- Check the connection status in the bottom-right corner of MT4; the indicator should show green bars with the current ping.
- Open a chart and verify real-time price updates.
If using Expert Advisors, click on:
Tools → Options → Expert AdvisorsAnd enable Allow automated trading.
Finally, restart MT4 to ensure all settings persist. Your MT4 is now successfully installed on your Forex VPS and ready for 24/7 automated trading.
Ensuring 24/7 Uptime for Forex VPS: Connection Tips
Managing a remote server is different from using a personal PC. To keep your trading account secure and ensure your session doesn’t accidentally close, follow these best practices for connecting, disconnecting, and securing your VPS access.
1. Keep Your Session Active:
- Save your RDP connection settings by clicking Save As in Remote Desktop Connection before connecting.
- Use the minimize button instead of closing the RDP window to keep MT4 running. With this, your trading platform continues operating on the VPS even when you disconnect.
2. Security Recommendations:
- Change the default VPS password immediately after the first login. Use strong passwords with uppercase, lowercase, numbers, and special characters
- Enable two-factor authentication if your VPS provider offers it.
- Avoid accessing your VPS from public Wi-Fi networks without a VPN.
3. Reconnecting to Your VPS:
- Open Remote Desktop Connection on your local computer.
- Enter your saved VPS IP address.
- Click Connect and enter credentials.
- Your MT4 platforms will still be running exactly as you left them.
FAQs
How many MT4 terminals can I run on one Forex VPS?
This depends on your VPS specs. On a standard 2 GB RAM server, you can comfortably run 2 to 4 optimized MT4 terminals. If you need to run more, consider upgrading to 4 GB or more RAM to prevent lag.
Will my Expert Advisors stop working if I disconnect from Forex VPS?
No. As long as you only disconnect from the session and do not Sign Out or Shut Down the VPS, your EAs will keep trading.
Can I turn off my computer after setting up the Forex VPS?
Yes. Once you close the Remote Desktop connection without shutting down the VPS, your MT4 platforms continue running on the server 24/7.
Conclusion
At this point, you have learned to install MT4 on a Forex VPS, which is the most effective upgrade you can make for your trading reliability.
Your trading setup is now on a server that runs 24/7. MT4 will execute trades automatically, even when you’re offline. Just check your VPS occasionally to make sure everything runs smoothly, and everything else runs on its own and is secure.
We hope you enjoy this guide. Subscribe to our X and Facebook to get the latest updates and articles.
