L2TP/IPsec vs SSTP vs OpenVPN on MikroTik: Practical Comparison
Choosing the right VPN protocol for your MikroTik router can directly impact your network’s security, speed, and reliability. Whether you’re setting up remote access for a team or securing traffic across sites, not every protocol is built for the same job. In this guide, you will learn MikroTik VPN protocol comparison, including L2TP/IPsec, SSTP, and OpenVPN, with full configuration steps on RouterOS v7.
You will learn how each protocol works, where it excels, and exactly how to deploy it on your MikroTik VPS.
By the end of this guide, you will have all three VPN servers running and ready to connect, with a clear understanding of which one best fits your use case.
Table of Contents
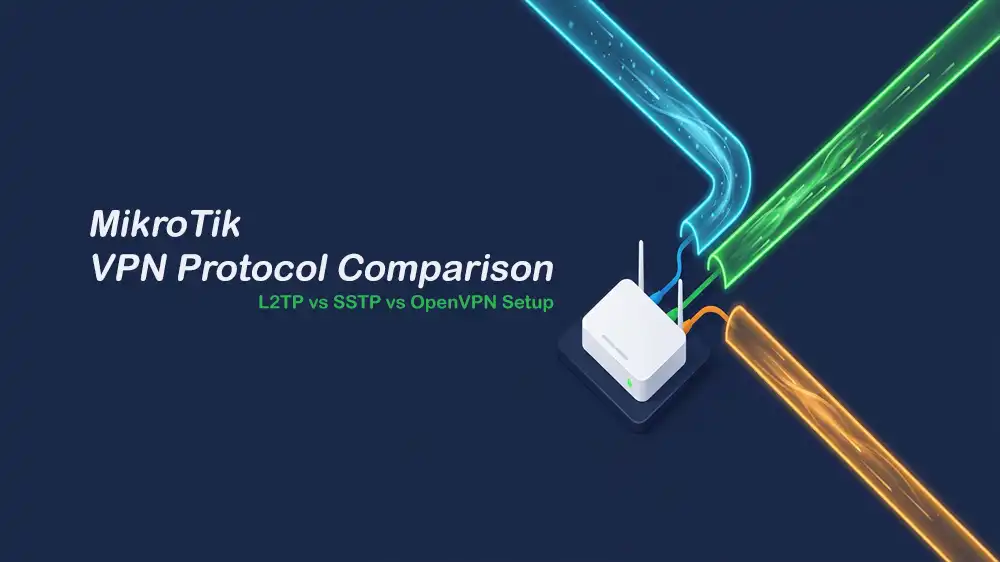
MikroTik VPN Protocol Comparison
It is important to understand the differences between MikroTik VPN protocols. In the table below, you can discover the key differences across security, performance, firewall compatibility, and ease of setup, so you can make the best decision.
| Feature | L2TP/IPsec | SSTP | OpenVPN |
|---|---|---|---|
| Security Level | High (AES Encryption) | High (SSL/TLS) | Very High (SSL/TLS) |
| Performance Overhead | Low (Fastest) | High (Slower) | Medium (Fast with UDP) |
| Firewall Evasion | Poor (Often blocked) | Excellent (Uses TCP 443) | Good (Uses UDP/TCP 1194) |
| Client Support | Native on most OS | Native on Windows | Requires OpenVPN App |
| Configuration | Simple | Moderate (Needs Certs) | Moderate (Needs Certs) |
Performance Note: The speed of your VPN depends heavily on your server’s hardware. For the best L2TP and OpenVPN performance, we recommend running your RouterOS setup on a high-speed and low-latency infrastructure like PerLod Hosting.
Generate SSL/TLS Certificates for SSTP and OpenVPN
As you saw in the MikroTik VPN protocol comparison table, SSTP and OpenVPN require SSL/TLS certificates to encrypt the connection. You can create a local Certificate Authority (CA) and sign a server certificate for both protocols to use with the commands below:
/certificate
add name=VPN-CA common-name=VPN-CA key-usage=key-cert-sign,crl-sign
sign VPN-CA
add name=VPN-Server common-name=vpn.example.com key-usage=digital-signature,key-encipherment,tls-server
sign VPN-Server ca=VPN-CA
The add commands above create the certificate templates, specifying standard key usages for signing and server authentication. The sign command officially generates and authorizes certificates on your router.
Configure MikroTik VPN IP Pools and Profiles
Every connected VPN client needs a local IP address and a DNS server to route traffic properly. To keep your network organized and prevent routing conflicts, you must assign a dedicated IP range (Pool) and network configuration (PPP Profile) to each of the three VPN protocols.
You can use the following /ip pool commands to define the range of usable IPs and /ppp profile commands to link the pool to the local gateway IP of the tunnel and push a public DNS server to the clients:
/ip pool
add name=l2tp-pool ranges=10.10.10.10-10.10.10.100
add name=sstp-pool ranges=10.10.20.10-10.10.20.100
add name=ovpn-pool ranges=10.10.30.10-10.10.30.100

/ppp profile
add name=l2tp-profile local-address=10.10.10.1 remote-address=l2tp-pool dns-server=8.8.8.8
add name=sstp-profile local-address=10.10.20.1 remote-address=sstp-pool dns-server=8.8.8.8
add name=ovpn-profile local-address=10.10.30.1 remote-address=ovpn-pool dns-server=8.8.8.8Tip: For better privacy, you can encrypt your DNS traffic so your ISP can’t see it. You can follow the MikroTik DNS over HTTPS (DoH) Setup guide, then use your router’s IP as the DNS for your VPN clients.
Activate L2TP, SSTP, and OpenVPN in RouterOS
At this point, you must enable the server interfaces for L2TP/IPsec, SSTP, and OpenVPN, linking each protocol to the security and network settings you just created. To do this, you can use the commands below:
# L2TP/IPsec Server
/interface l2tp-server server
set enabled=yes use-ipsec=yes ipsec-secret="StrongSecret123" authentication=mschap2 default-profile=l2tp-profile

# SSTP Server
/interface sstp-server server
set enabled=yes certificate=VPN-Server authentication=mschap2 default-profile=sstp-profile

# OpenVPN Server (RouterOS v7 supports UDP)
/interface ovpn-server server
set enabled=yes protocol=udp port=1194 certificate=VPN-Server default-profile=ovpn-profile require-client-certificate=no auth=sha256 cipher=aes256-cbc,aes256-gcm- For L2TP: use-ipsec=yes tells RouterOS to create the security rules automatically.
- For OpenVPN: Turning off client certificates allows easy password logins, and AES-GCM encryption makes the VPN faster.
Set Up MikroTik VPN User Credentials
In MikroTik, user credentials are known as PPP secrets. You can set up a unique username and password for each protocol, which ensures that users are locked to the correct service and receive the right IP address.
For this purpose, you can use the following commands:
/ppp secret
add name=l2tp-user password=Password1 service=l2tp profile=l2tp-profile
add name=sstp-user password=Password2 service=sstp profile=sstp-profile
add name=ovpn-user password=Password3 service=ovpn profile=ovpn-profile
Allow MikroTik VPN Traffic Through the Firewall
By default, the router’s firewall blocks incoming connections. You must open the required ports for L2TP, SSTP, and OpenVPN and configure NAT, so your connected clients can successfully access the internet through the router.
Use the following filter commands to open the UDP 500/4500 for IPsec, TCP 443 for SSTP, and UDP 1194 for OpenVPN.
Also, use the masquerade action to rewrite the client traffic to use the router’s public WAN IP address:
/ip firewall filter
add chain=input protocol=udp dst-port=500,1701,4500 action=accept comment="Allow L2TP/IPsec"
add chain=input protocol=ipsec-esp action=accept comment="Allow IPsec ESP"
add chain=input protocol=tcp dst-port=443 action=accept comment="Allow SSTP"
add chain=input protocol=udp dst-port=1194 action=accept comment="Allow OpenVPN UDP"

/ip firewall nat
add chain=srcnat src-address=10.10.10.0/24 action=masquerade comment="NAT L2TP"
add chain=srcnat src-address=10.10.20.0/24 action=masquerade comment="NAT SSTP"
add chain=srcnat src-address=10.10.30.0/24 action=masquerade comment="NAT OpenVPN"Note: To easily configure client devices for OpenVPN, use:
/interface ovpn-server server export-ovpn-client certificate=VPN-CA file=my-config It generates a ready-to-use .ovpn profile.
Security Note: Opening VPN ports to the internet can be risky. To stop hackers and brute-force attacks, secure your router using this guide on MikroTik Firewall Best Practices.
That’s it, you are done with MikroTik VPN protocol comparison and configuration.
FAQs
Which MikroTik VPN protocol is the fastest?
L2TP/IPsec is usually the fastest because most MikroTik routers have built-in hardware acceleration for it. OpenVPN over UDP is also very fast in RouterOS v7, while SSTP is generally the slowest due to the heavy overhead of SSL encryption.
Does RouterOS v7 OpenVPN support UDP?
Yes. RouterOS v7 introduced full support for OpenVPN UDP. You can configure it with protocol=udp to improve speed and reduce latency.
Why is the L2TP/IPsec connection failing to connect?
The most common reasons are wrong IPsec passwords, blocked firewall ports, or NAT issues. If you are connecting from a Windows PC behind a router, you usually need to apply the standard “AssumeUDPEncapsulationContextOnSendRule” registry fix.
Conclusion
Securing your network is easy when you choose the right tool. As shown in the MikroTik VPN protocol comparison, L2TP/IPsec is best for maximum speed, SSTP for bypassing strict firewalls, and OpenVPN for a balance of speed and security on RouterOS v7. By following this guide, you can easily set up certificates, IP pools, and firewall rules on your MikroTik VPS.
We hope you enjoy this guide. Subscribe to our X and Facebook channels to get the latest updates and articles on MikroTik VPS Hosting.
