Domain Transfer Checklist: How to Move a Domain Without Downtime
Moving a domain name can feel risky, but following a strict domain transfer checklist guarantees zero downtime for your website and no dropped emails. A smooth domain transfer starts with preparing your DNS and hosting setup before you begin the transfer.
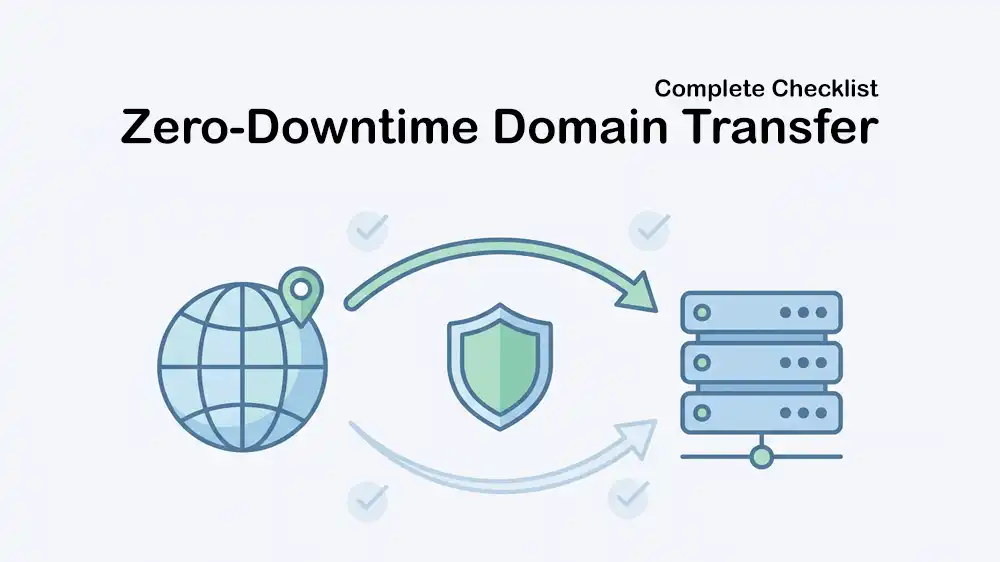
This PerLod Hosting guide explains how to transfer a domain name from one registrar to another without causing website downtime or email disruption.
Table of Contents
Domain Transfer Checklist: Pretransfer Preparation
Preparing your current environment before making administrative changes is the secret to avoiding downtime. This phase focuses on locking in your traffic routing so the actual transfer happens invisibly in the background.
Audit and Export DNS Records
Before starting, access your current DNS manager and copy your entire zone file. Pay special attention to your A records for web traffic and MX records for email routing.
Make sure to copy all your TXT records, like SPF and DKIM. If you leave them behind, your emails will go straight to the spam folder.
Lower Your DNS TTL
A lower Time to Live (TTL) ensures that any necessary DNS changes spread globally in minutes rather than days. Change the TTL on your DNS records to a low value, such as 300 seconds, about 24 to 48 hours before the move.
Confirm the TTL has actually lowered using a public DNS lookup tool; otherwise, emergency rollbacks will take hours to process.
Preconfigure the New Environment
At this point, from the Domain transfer checklist, you must set up your website files, databases, and SSL certificates on your new host, such as a high-performance Linux VPS. You must recreate all of your email addresses on the new server in advance so they are ready to catch incoming mail without interruption.
Note: Remember to test the new server via its direct IP address to verify the site loads perfectly before you route any domain traffic to it.
Implement a DNS Freeze
You must also stop making any updates to your website content or DNS records. To guarantee continuous uptime, keep your nameservers unchanged during the transfer process.
Never change nameservers simultaneously with a domain transfer initiation, as this is the primary cause of extended downtime and lost traffic.
Unlock and Authorize Your Domain
To successfully move your domain, you must prove ownership and remove security restrictions set by your current provider. This step helps the new registrar process the transfer smoothly and avoid unnecessary delays.
Disable WHOIS Privacy
Turn off domain privacy protection at your current registrar, so your contact details are visible. This ensures the transfer approval email is sent directly to your administrative email address instead of being blocked by a proxy.
Make sure your administrative email address is spelled correctly and actively receiving mail; if it goes to a dead inbox, the transfer cannot proceed.
Remove the Registrar Lock
Toggle off the registrar lock, which changes your domain’s status from clientTransferProhibited to OK. This security feature must be disabled to allow another company to take over the registration.
Ensure the domain hasn’t been registered or previously transferred within the last 60 days, as mandatory ICANN rules will block the unlock.
Obtain the EPP Code
Request the EPP code, also known as the authorization code, from your current registrar dashboard. This code acts as a secure password that proves you own the domain and authorize the move.
Note: Copy the EPP code exactly as it appears without any trailing spaces, as formatting errors will cause an immediate failure at the new registrar.
Execute the Domain Transfer
After pretransfer preparation and authorization, you can start the migration. This phase actively moves the billing and management of the domain.
Initiate the Domain Transfer
At this point, from the Domain transfer checklist, go to your new registrar to start the formal transfer process. Double-check that you select the option to keep existing nameservers during checkout to maintain your zero-downtime routing strategy.
If you are ready to make the switch, you can securely transfer your domain to PerLod.
Approve the Authorization Email
Look for a confirmation email from your new registrar, and sometimes your old one, asking you to approve the transfer request. While standard transfers can take up to five business days, approving this email is mandatory to keep the process moving.
Some outgoing registrars have a speed-up transfer button in their dashboard; check for this option to bypass the multi-day waiting period.
Post-Transfer Domain Validation
In the final step, you must confirm that your website loads correctly, your SSL is valid, and all email accounts can send and receive messages without issues. This quick review makes sure the move didn’t break anything behind the scenes.
1. Verify nameservers and routing: After the domain shows up at your new registrar, check that it is still using the same nameservers and hasn’t switched to a default page. Make sure your site loads normally and your SSL still works.
You can use a global DNS checker to confirm your domain points to the correct server in all regions.
2. Test email deliverability: Send test emails to and from your domain to confirm that mail is being delivered correctly. Make sure every mailbox you recreated can receive messages from outside.
Watch your email bounce logs for the first 24 hours so you can quickly fix any addresses or routes that are failing.
3. Restore standard TTL: When you’re confident everything is stable, raise your DNS TTL back to a normal value to reduce DNS lookups.
Only increase the TTL after you’re completely sure the new setup works perfectly, because higher TTL values lock in your current DNS routing for longer.
Conclusion
A domain transfer does not have to cause downtime if you prepare your DNS records in advance, keep your nameservers stable, approve the transfer correctly, and test your site and email after the move. By following this domain transfer checklist, you can avoid common mistakes, protect your traffic, and keep email working during the transfer process.
We hope you enjoy this guide. Subscribe to our X and Facebook channels to get the latest updates.
FAQs
How do I transfer a domain without downtime?
You must prepare your new hosting and DNS first, keep the same nameservers during the transfer, lower TTL ahead of time, then test your website and email after the move.
How long does a domain transfer usually take?
Most domain transfers take about 5 to 7 days, but some can be completed in a few hours or take up to 10 to 14 days, depending on the registrars and approvals.
What is an EPP authorization code and where do I find it?
An EPP code is a unique transfer password for your domain. You get it from your current registrar, usually in your domain management panel or by asking their support.
