
How to Install Coolify on Ubuntu VPS and Deploy Your First App
If you’ve been looking for a simple way to host your own apps without paying for Heroku or Vercel, you’re in the right place. This guide shows you how to install Coolify on Ubuntu VPS step by step.
Coolify is a free and open-source platform you install on your own server. Once you install Coolify on Ubuntu, you get a clean web dashboard where you can deploy apps from GitHub, manage databases, set up SSL certificates, and monitor your services, all without touching the command line again.
It is one of the best self-hosted PaaS options available today for developers who want to cut hosting costs and keep their data private.
Table of Contents
Server Requirements Before You Start
Before you try to install Coolify on Ubuntu, make sure your VPS meets these minimum specs:
| Requirement | Minimum | Recommended |
|---|---|---|
| CPU | 2 cores | 4 cores |
| RAM | 2 GB | 4 to 8 GB |
| Storage | 30 GB | 80+ GB |
| OS | Ubuntu 20.04 LTS | Ubuntu 22.04 or 24.04 LTS |
| Access | Root or sudo | Root user |
Important Note: Always use a fresh server for Coolify. Installing it on a server that already has Docker, Nginx, or another web server running can cause port conflicts and broken deployments.
Also, the install script works only with Ubuntu LTS versions. If you’re on a non-LTS version, you’ll need to follow the manual installation method from the official Coolify documentation.
Step 1: Get a Fresh Ubuntu VPS
Start with a clean Ubuntu 22.04 or 24.04 LTS VPS. You need root SSH access and a public IP address. If you’re looking for a reliable VPS to run Coolify in production, you can check PerLod’s Linux VPS plans. They’re best for self-hosted tools like Coolify, with fast SSD storage and full root access.
If you are not sure which plan to pick, this guide on the best Linux VPS for Coolify shows what to look for based on your workload.
Once your VPS is ready, you should have:
- A public IP address.
- Root access via SSH.
- Fresh Ubuntu 22.04 or 24.04 is installed.
Step 2: Connect to Your Server via SSH
Open your terminal and connect to your VPS:
ssh root@your_server_ipIf you’re using an SSH key file:
ssh -i /path/to/your-key.pem root@your_server_ipStep 3: Update Your Ubuntu Server
The first thing to do on any fresh VPS is to update system packages, which avoids installation errors and security issues later:
apt update && apt upgrade -yAlso, make sure curl is installed; the Coolify install script needs it:
apt install curl -yStep 4: Open the Right Firewall Ports
Before you install Coolify on Ubuntu, you must open the required ports. If your cloud provider has a built-in firewall, configure it there; Docker can bypass UFW rules at the iptables level.
| Port | Purpose |
|---|---|
| 22 | SSH access |
| 80 | HTTP, required for Let’s Encrypt SSL |
| 443 | HTTPS, secure app traffic |
| 8000 | Coolify dashboard (before domain setup) |
| 6001 | Real-time communications |
| 6002 | Terminal access in dashboard |
Open the required port through the UFW firewall with the commands below:
apt install ufw -y
ufw allow 22/tcp
ufw allow 80/tcp
ufw allow 443/tcp
ufw allow 8000/tcp
ufw allow 6001/tcp
ufw allow 6002/tcp
ufw enable
Step 5: Install Coolify on Ubuntu VPS
The official Coolify install script handles everything automatically, including Docker, directory setup, SSH keys, and all containers.
If you are running as root, use this command:
curl -fsSL https://cdn.coollabs.io/coolify/install.sh | bashIf you are using a sudo user, use this instead:
curl -fsSL https://cdn.coollabs.io/coolify/install.sh | sudo bashThe script will:
- Install Docker Engine version 24+
- Configure Docker settings and logging
- Create the /data/coolify directory structure
- Set up SSH keys for server management
- Pull and start all Coolify containers
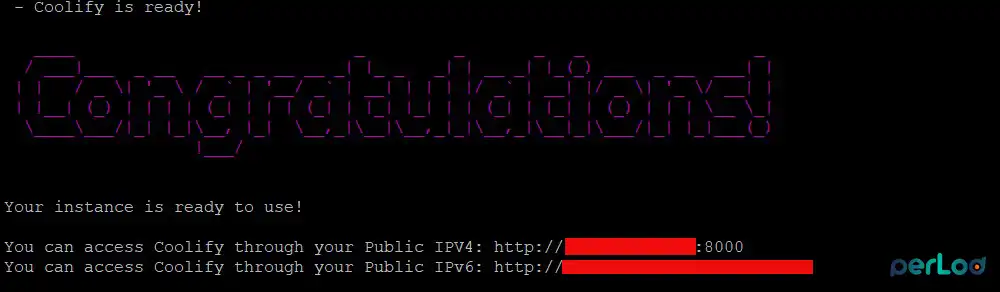
This takes about 3 to 5 minutes to complete. Once the installation is completed, you will see:
Note: Docker installed via Snap is not supported. Remove it first with snap remove docker if needed, then re-run the script.
Step 6: Access the Dashboard and Create Your Admin Account
At this point, you must open your browser and go to:
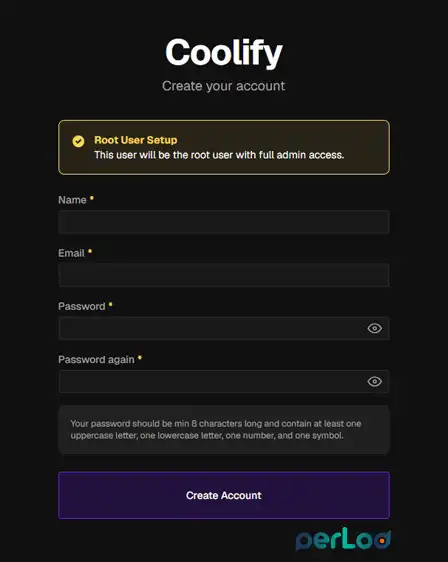
http://your_server_ip:8000You’ll see the registration page. You must create your admin account immediately; anyone who reaches this page first gets full control of your server. Enter a valid email and a strong password, then sign in.
Step 7: Complete the Onboarding Wizard
Right after creating your account, Coolify shows the Welcome to Coolify onboarding screen with three items to set up, including Server Connection, Docker Environment, and Project Structure.
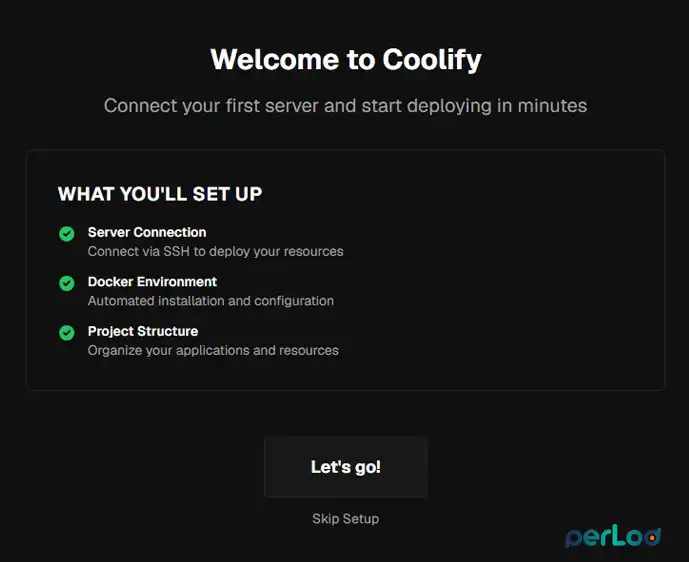
You can click Let’s go! and follow the steps to set them up. After these steps, you’ll land on the main Coolify dashboard.
If you want to skip the wizard, simply click Skip Setup at the bottom.
Step 8: Add a Custom Domain to Coolify
This step sets a domain for your Coolify dashboard itself. Each app you deploy will get its own separate domain later.
Point Your Domain to Your Server
Add two DNS A records in your domain registrar’s panel. If you need to register a domain, PerLod’s domain service is a good starting point.
| Type | Name | Value |
|---|---|---|
| A | @ | Your server’s public IP |
| A | * | Your server’s public IP |
The wildcard * record lets Coolify auto-create subdomains for every app you deploy.
For Cloudflare users: Keep the proxy disabled for now. Coolify uses Let’s Encrypt for SSL, which needs direct access to your server. Wait 10 to 15 minutes for DNS to propagate before continuing.
Set the Domain in Coolify Settings
From your Coolify dashboard, go to Settings in the sidebar and General tab.
Find the URL field and enter your domain with https://:
https://coolify.yourdomain.comOnce you are done, click Save.
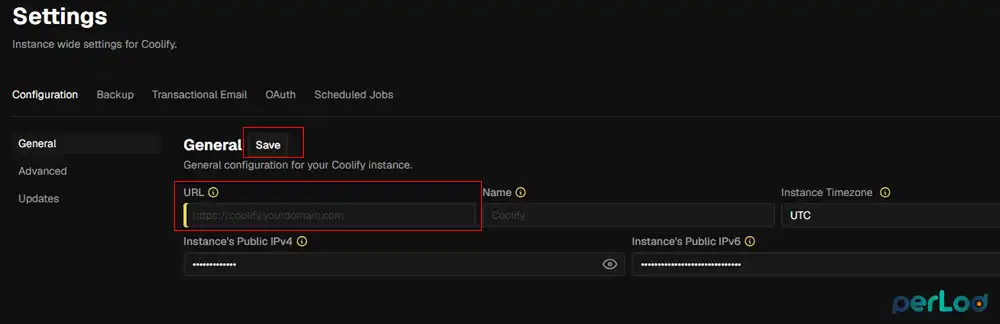
Coolify will request an SSL certificate from Let’s Encrypt automatically. Within 1 to 2 minutes, your dashboard will be live at your domain with HTTPS. Once confirmed, you can close port 8000 in your cloud firewall; you no longer need it.
Step 9: Deploy Your First App
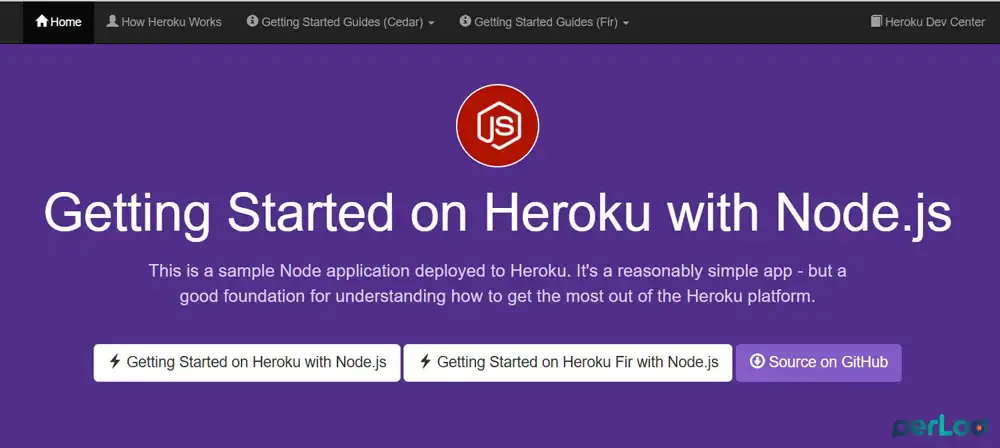
Now you can start to deploy your first app. In this guide, we want to deploy a Node.js app. We’ll use the heroku/node-js-getting-started repo, a simple Express app, perfect for a first deployment.
Create a New Project
First, you must create a new project if you didn’t create one in the wizard:
Click Projects and + Add.

Name it, for example, my-first-app, and click Continue.

Add a New Resource
Inside your project, click + Add Resource:

Choose Public Repository:
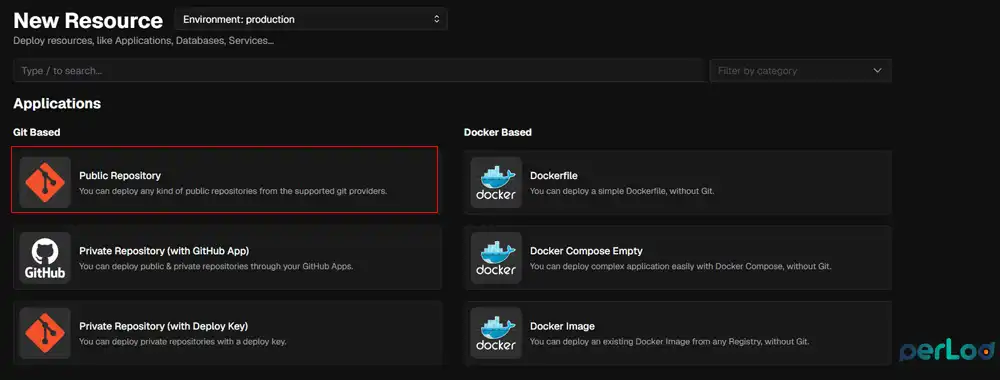
And paste this example URL for Nodejs.app and click check repository:
https://github.com/heroku/node-js-getting-started
Coolify scans the repo and auto-detects it as a Node.js / Nixpacks app.
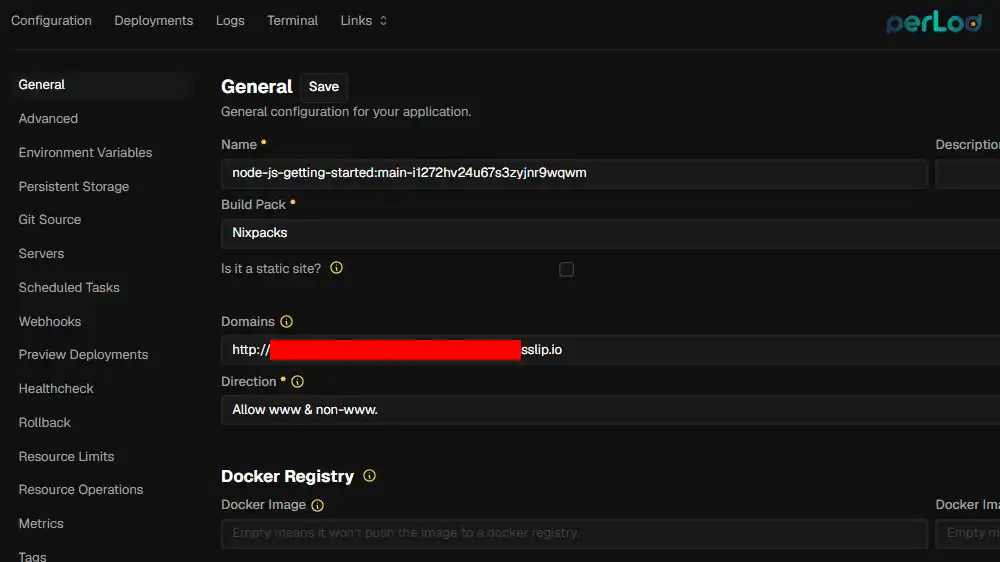
Set the App Domain
On the configuration page, find the Domains field. You have two options:
Option A: Use the auto-generated sslip.io URL, which is the easiest and requires no DNS.
Keep the URL that Coolify fills in automatically. It looks like:
http://xxxxxxx.YOUR_SERVER_IP.sslip.ioThis works immediately without any DNS setup, great for testing your first deployment.
Option B: Use your own subdomain.
Clear the field and enter a subdomain you control:
https://app.yourdomain.comMake sure you’ve added a DNS A Record for this subdomain pointing to your server IP first.
Remember: This app domain is completely separate from your Coolify dashboard domain.
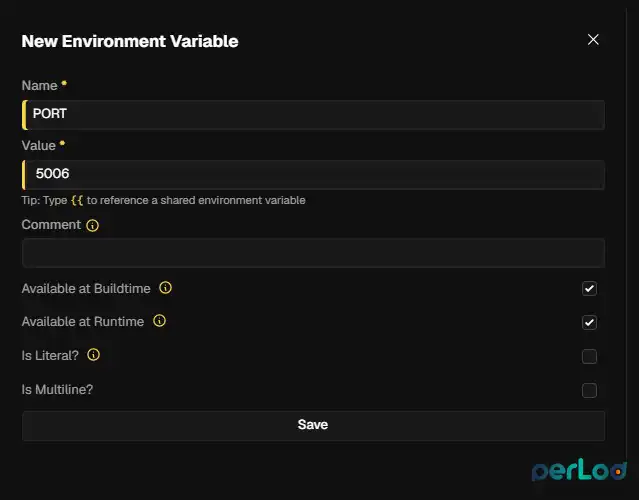
Add the Required Environment Variable
The heroku/node-js-getting-started app listens on port 5006 by default. You need to define this so Coolify’s proxy knows where to send traffic.
Click Environment Variables in the left sidebar and add:
| Key | Value |
|---|---|
| PORT | 5006 |
Once you are done, click Save.
Deploy The App
At this point, you must go back to General and click the ▶ Deploy button in the top-right corner.

Click the Deployments tab to watch the build log in real time. Nixpacks will detect the Node.js app, run npm install, run npm start, and start the container. When the status turns green and shows Running, your app is live.
To confirm it, you can visit the domain.
Conclusion
Getting started with Coolify on Ubuntu is straightforward. On a fresh VPS with the right ports open, you just need to run a single install command. Be sure to complete the onboarding wizard, separate your dashboard and app domains, and set the correct PORT environment variable. After that, you can deploy unlimited apps for free!
For production workloads, you’ll want at least 2 GB RAM. If you need a reliable server, do not forget to check Perlod’s VPS plans to install Coolify.
We hope you enjoy this guide.
FAQs
Do I need to install Docker before running the Coolify script?
No. The Coolify install script installs Docker Engine automatically.
What is the difference between the Coolify domain and an app domain?
The Coolify domain is for accessing the dashboard. Each app you deploy gets its own separate subdomain.
Why does my app show Exited after deployment in Coolify?
The most common reason is a missing or wrong PORT environment variable. Check the build logs under the Deployments tab, fix the variable, and redeploy.
