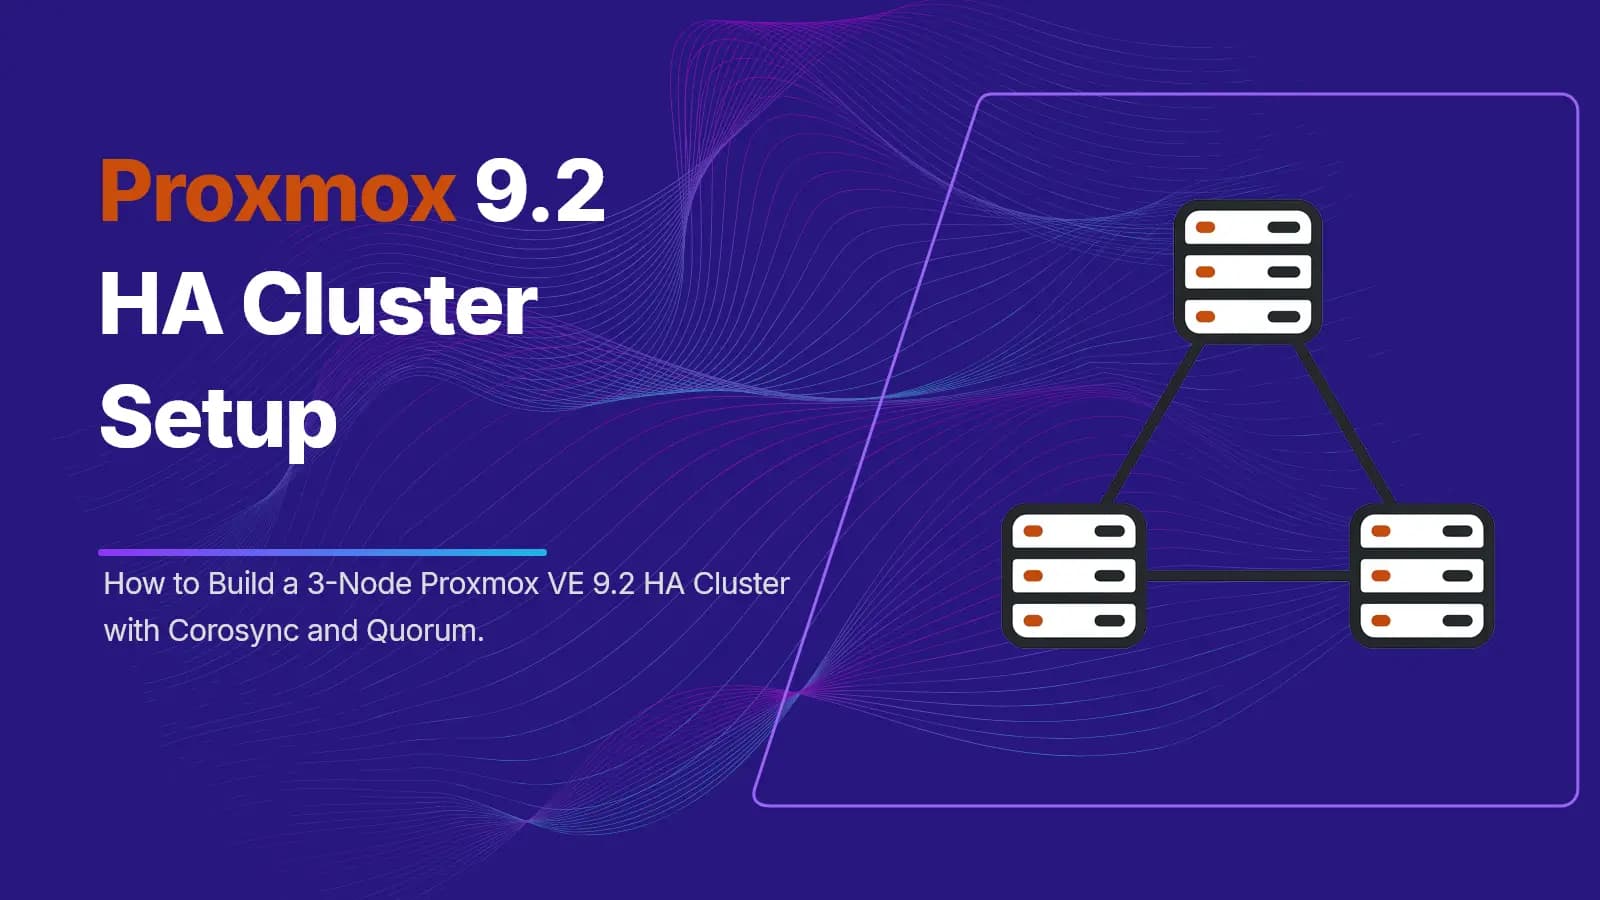
If one server goes down, your VMs should not go down with it. That is the whole point of a Proxmox 9.2 HA cluster setup. Three servers working as one, watching each other, and moving virtual machines automatically when a node fails. This guide walks you through the full build.
Build Proxmox VE 9.2 HA Cluster: 3 Nodes, Corosync, and Quorum
Updated on Sep 27, 2026
Mila H
11 MINS READ
Table of Contents
- What You Need for Proxmox 9.2 HA Cluster Setup
- Prepare the Nodes and Network
- Set Up a Private Network for Corosync
- Create the Proxmox 9.2 HA Cluster Setup
- Join the Other Two Nodes
- Verify Quorum in Your Cluster
- Shared or Replicated Storage for Migration and Recovery
- Define HA Node Affinity Rules and Groups
- Adding HA Resources
- Testing Node Failure
- Safe Cluster Maintenance with Arm and Disarm
- Where to Run Proxmox 9.2 HA Cluster Setup
- Conclusion
What You Need for Proxmox 9.2 HA Cluster Setup
Before you start your setup, make sure to get these things ready:
- Three physical or virtual servers, each with Proxmox VE 9.2 installed.
- A unique hostname and static IP on each node. You can not change these after joining a cluster.
- A second network interface on each node, dedicated to cluster traffic. This becomes your private corosync network.
- Synchronized time on all nodes. Proxmox uses
chronyby default; check that it is running. - Shared or replicated storage available to all three nodes, which is needed for HA to move VMs between hosts.
- Root SSH access and the root password for each node.
A correct Proxmox 9.2 HA cluster setup always needs at least three nodes. Corosync uses a vote system called quorum, and with only two nodes, one failure can split the cluster and freeze both sides. Three nodes give you a real setup, so the cluster keeps running even if one node fails.
Prepare the Nodes and Network
First, you must log in to each node over SSH and confirm the basics. Check the hostname and IP address:
Bash
Check that all three nodes can reach each other on both the main network and the private network you plan to use for corosync:
Bash
Then, check that the time is synced with:
Bash
Also, you must edit /etc/hosts on every node so each server can resolve the others by name. Open the file with your desired editor:
Bash
Add lines like this on all three nodes with your real IPs and hostnames:
Bash
You don't need /etc/hosts entries to build the Proxmox cluster, but they make SSH and troubleshooting much easier, so add them anyway.
Set Up a Private Network for Corosync
This is the step most guides skip, and it is the reason clusters become unstable under load. Corosync needs steady and low latency to keep quorum stable.
If cluster traffic shares a NIC with your VM or storage traffic, a busy backup or big file transfer can delay corosync packets. This can cause nodes to wrongly think another node is down and kick it out of the cluster for no real reason.
A solid Proxmox 9.2 HA cluster setup always gives corosync its own network link, separate from storage and VM traffic.
On each node, you can go to the Proxmox web UI > System > Network, or edit the config file directly:
Bash
Add a static IP on the private NIC, for example:
Bash
Repeat with 10.10.10.12 and 10.10.10.13 on the second and third nodes. When you are done, apply the change:
Bash
Test the private link between all nodes before moving on:
Bash
Note: If you don't have a dedicated 1 Gbit NIC, use a separate VLAN instead. Later, add a second corosync link on a different physical path for backup.
Create the Proxmox 9.2 HA Cluster Setup
At this point, you can start to build the cluster. Log in to the first node, we call it pve1, over SSH and run:
Bash
prod-cluster is your cluster name. Pick something short and clear, since you can't change it later. The --link0 flag tells corosync to use your private network address instead of the main NIC.
Then, check that the cluster started correctly:
Bash
You should see one node listed, quorum information showing Quorate: Yes, and Expected votes: 1.
Join the Other Two Nodes
Now you must add the other two nodes to the cluster. On pve2, run:
Bash
You'll be asked for the root password of the existing node (pve1). This checks you're allowed in and confirms the node's certificate fingerprint. Repeat the same pattern on pve3:
Bash
--link0 value is always the new node's own private IP. The address 10.10.10.11 is the existing cluster node you're joining.
After both nodes join, you must check the cluster state from any node:
Bash
You should now see three nodes, Quorate: Yes, and Expected votes: 3. If a node shows offline, check that the private network is reachable and that corosync is running:
Bash
A joining node can't already have VMs or containers, since their IDs could conflict with the cluster. If a node has existing guests, back them up with vzdump first, then join the cluster, then restore the guests with new IDs.
Verify Quorum in Your Cluster
Quorum is the rule that keeps your cluster safe. With three nodes, you need two votes to have quorum.
If a network split leaves only one node reachable, that node loses quorum and goes read-only. Tt won't try to run HA resources alone, so you never end up with two copies of the same VM running at once.
Run this on any node to see the full status:
Bash
You must look at these fields specifically:
- Quorate: should say Yes.
- Total votes: should equal 3; one per node, by default.
- Quorum: should show 2, meaning at least two nodes must agree for the cluster to act.
This check matters more than people think. A Proxmox 9.2 HA cluster setup with broken quorum will refuse to fail over VMs, even though everything looks fine in the GUI. Always confirm Quorate: Yes before relying on HA in production, and re-check it after any network change.
Note: If you ever build a two-node setup, Proxmox supports an external QDevice that adds a tie-breaking vote. But for a three-node build, you don't need this; three nodes already give you solid quorum on their own.
Shared or Replicated Storage for Migration and Recovery
HA cannot move a VM to another node if that node cannot see the VM's disk. You have three practical options:
- Shared storage, such as Ceph, NFS, or iSCSI: Every node reads and writes the same storage over the network. This gives instant live migration and the fastest failover, since no data needs to be copied during recovery.
- ZFS storage replication: Each node keeps its own local ZFS storage, and Proxmox copies snapshots between nodes on a schedule using
pvesr. This is a good option for smaller setups without a SAN or Ceph cluster. - Local-only storage with no replication: Not usable for HA. If a node fails, the VM disk fails with it, and there is nothing to migrate.
Note: If you already set up a Proxmox ZFS mirror on each node, that mirror only protects with a single disk failure on that one server. It's still local storage, not shared storage. To use it with HA, turn on ZFS storage replication between nodes, or add a separate shared storage backend for anything you want to fail over automatically.
To set up ZFS replication after your storage pool exists on each node, you can go to the VM > Replication tab in the GUI, or use the CLI:
Bash
This replicates VM 100 to pve2 every 5 minutes. You can check job status anytime with:
Bash
For serious production use, most Proxmox HA clusters use Ceph. It removes replication lag and gives true shared access across all nodes.
Define HA Node Affinity Rules and Groups
Proxmox VE 9.0 replaced the old HA Groups feature with HA node affinity rules, and this applies to VE 9.2. Groups still work for older clusters, but new clusters should use affinity rules instead.
To make a resource prefer a specific node, you must create a node affinity rule:
Bash
By default this rule isn't strict; if pve1 is down, the VM can still start on another node. To force the VM to only run on the listed nodes make the rule strict:
Bash
To set a priority order across nodes, you can use priorities, prefer pve1 first, then fall back to pve2 or pve3 equally:
Bash
Also, you can keep two related resources on the same node, which us positive affinity. Or, you can force them apart, negative affinity, which is useful for spreading load or avoiding a single point of failure:
Bash
Adding HA Resources
With storage and rules in place, you can add your VMs and containers to HA management. Each resource is identified by type and ID: vm:100 for a VM and ct:101 for a container.
Bash
Check the current HA configuration with:
Bash
Check live status of the whole HA stack with:
Bash
You should see the quorum state, which node holds the CRM master role, and the state of each managed service. A proper Proxmox 9.2 HA cluster setup shows quorum OK and every service in the state you expect.
To move a resource manually without waiting for a failure, you can use:
Bash
Testing Node Failure
Remember to not trust HA until you have watched it work. At this point, you can pick a non-critical test VM, add it to HA, and confirm it is running on one node. Then simulate a hard failure on that node. Pull the power, or force a reboot:
Bash
Then, watch from another node with:
Bash
Here is what should happen: The failed node stops responding. The cluster loses its vote but still has quorum. The watchdog confirms the node is really gone, and the CRM restarts the VM on a healthy node, usually within about two minutes.
If quorum was already broken before the test, HA correctly refuses to fail over. It can't be sure the failed node isn't still running the VM somewhere unseen. This behavior protects your data from corruption. It's exactly why quorum planning matters as much as failover itself.
Safe Cluster Maintenance with Arm and Disarm
Proxmox VE 9.2 added a cluster-wide Disarm HA and Arm HA workflow. It solves doing planned maintenance, such as network changes, firmware updates, and cabling work without triggering unwanted failovers.
Before 9.2, the only safe option was to stop the HA stack completely. Now you can pause it temporarily, do your work, and resume.
Before disarming, you must always check cluster health first:
Bash
Do not proceed if quorum looks weak or unstable. Pick the right mode for your maintenance:
- Use
freezeif all nodes will stay online and reachable, just with a temporarily shaky network; resources stay exactly where they are. - Use
ignoreif you plan to manually stop, start, or move guests yourself, for example when taking nodes down one at a time for firmware updates.
Disarm the cluster from any single node, it applies cluster-wide automatically:
Bash
Confirm the disarm took effect before starting the actual work:
Bash
Do your maintenance work, replace a switch, re-cable a bond, or patch firmware. With HA disarmed, corosync timeouts during this window won't trigger node failovers.
Re-arm as soon as the maintenance is done, do not leave the cluster disarmed longer than needed:
Bash
Then, verify everything is back to normal:
Bash
One important note: Keep HA armed while upgrading the pve-ha-manager package. If HA is disarmed during a mid-migration, the upgrade can stall, so wait for migrations to finish, or re-arm HA first.
This Disarm/Arm workflow turns a stressful, carefully-timed maintenance window into a simple, repeatable step. It is a real upgrade for anyone running a Proxmox 9.2 HA cluster setup at scale.
Where to Run Proxmox 9.2 HA Cluster Setup
A private corosync network, consistent low latency, and clean node-to-node connectivity are not things you get by accident on shared or budget hosting.
If you want to build this Proxmox 9.2 HA cluster setup correctly, run it on dedicated servers with private networking, so your cluster traffic never competes with public internet load or noisy neighbors.
Conclusion
A real Proxmox 9.2 HA cluster setup is more than three servers joined together. It depends on a private, low-latency corosync network, a quorum that stays healthy under failure, shared or replicated storage so VMs can actually move, and a safe way to pause HA for planned work.
Build in order, test a real node failure before you trust it, and use the new Arm/Disarm workflow every time you touch the cluster network.
We hope you enjoy this guide. For more detailed information, check the Official Proxmox VE High Availability Wiki.
Not directly. Local ZFS storage stays on one node. Use ZFS storage replication between nodes, or shared storage like Ceph or NFS, so VMs can restart on another node.
The cluster switches to read-only mode. HA will not try to start or move VMs until quorum is restored, to avoid running the same VM twice.
Disarm pauses the HA stack cluster-wide for planned maintenance, so network changes do not trigger fencing. Arm turns HA back on and resources return to their saved state.
Yes, but they are deprecated. New setups should use HA node affinity rules instead, which offer the same node preferences with more flexibility.
Category:Server Setup & Administration
Tag: