Secure OpenSearch Cluster on Ubuntu
OpenSearch is a powerful and open-source search engine and analytics. It is used for logs, metrics, full-text search, and application monitoring. In the previous guide, we discovered how to set up OpenSearch Cluster on Ubuntu. But just setting up a cluster is not enough, you must also secure OpenSearch cluster on Ubuntu.
In this guide, we’ll explain step by step how to secure an OpenSearch cluster on Ubuntu, covering why security matters and how to configure it properly with TLS, role-based access, monitoring, backups, and intrusion detection.
At PerLod Hosting, we provide reliable hosting services optimized for OpenSearch, which gives you performance, stability, and peace of mind.
Table of Contents
Why Security in OpenSearch Matters?
Once you install OpenSearch and run your cluster, it seems everything is done. But without security, your cluster can become an easy target. Here’s why security is important:
- Sensitive data: OpenSearch often holds logs, user information, and business metrics. If there’s a breach, this data could become public.
- Data manipulation risks: Without security, attackers can delete, modify, or insert data. This can lead to lost information and broken analytics.
- Denial of Service (DoS): Attackers can overload your cluster with queries, slowing down or shutting down applications that rely on it.
- Compliance requirements: Many industries (finance, healthcare, e-commerce) require encryption, auditing, and access controls.
Because of these, security is an essential step for your OpenSearch cluster.
How To Secure OpenSearch Cluster on Ubuntu?
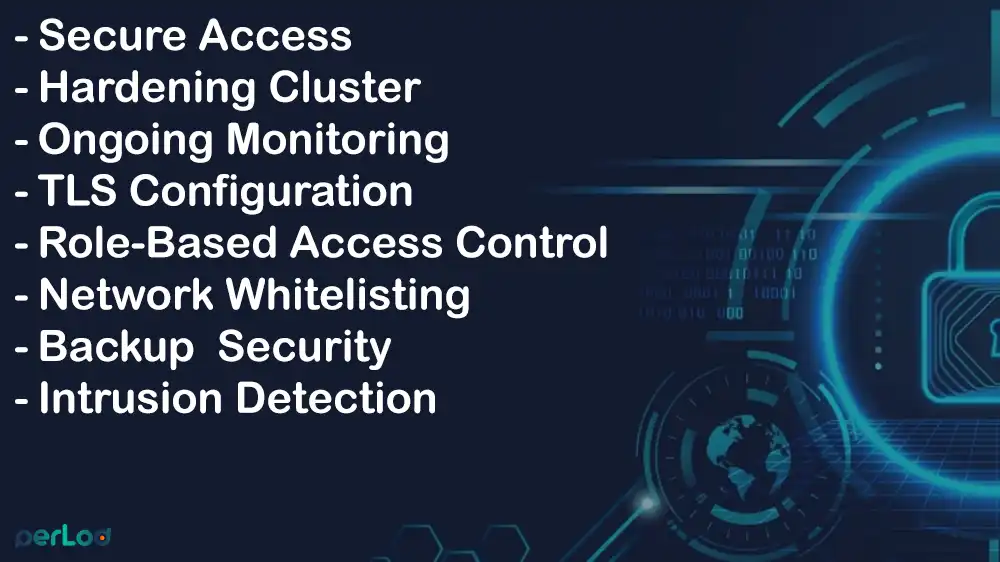
Once you are done with setting up the OpenSearch cluster on Ubuntu, you can secure it by using the best practices, including:
- Configuring Secure Access
- Hardening Your Cluster
- Ongoing Monitoring
- TLS Configuration
- Role-Based Access Control
- Network Whitelisting
- Backup and Restore Security
- Intrusion Detection
Let’s dive into them and what you need to do to secure OpenSearch cluster on Ubuntu.

1. Configure Secure Access in OpenSearch
The first step is to control who can access the OpenSearch cluster. For this purpose, users must log in with a username and password, or use client certificates for more secure identity verification. After logging in, users should only have access to the data and operations they actually need.
Also, you must force all connections from clients, dashboards, and between nodes to use TLS. With this option, data can not be read in transit.
Remember not to bind OpenSearch to 0.0.0.0 (all interfaces). Consider binding it to specific IPs or localhost.
You can configure these options in the opensearch.yml file and use firewall rules (UFW or iptables) to control access.
For example, you can consider these UFW firewall rules:
# Allow only your private network
sudo ufw allow from 10.0.0.0/24 to any port 9200
sudo ufw allow from 10.0.0.0/24 to any port 9300

# Deny all others
sudo ufw deny 9200
sudo ufw deny 9300
With this, only trusted IP addresses can connect.
2. OpenSearch Cluster Hardening
Hardening means reducing the attack surface and strengthening every layer of your OpenSearch setup. Here are the most essential things you must consider:
1. Run as a non-root user: Never run OpenSearch as root. Use a dedicated OpenSearch user with sudo privileges.
2. File permissions: The certificates, config files, and data directories must only be readable by the opensearch user.
3. Disable swap: OpenSearch recommends disabling swap to avoid performance issues.
4. Keep software updated: Regularly update both Ubuntu and OpenSearch for security patches.
5. Remove demo settings: Delete demo certificates, accounts, or default passwords provided in test configurations.
6. Limit scripting: Disable or restrict inline scripting in OpenSearch if not needed.
3. Ongoing Monitoring for OpenSearch
To have a secure OpenSearch cluster, you must continuously monitor it.
- You can enable audit logging in the OpenSearch security plugin to record who did what, when, and from where.
- Consider sending OpenSearch logs to another system to prevent tampering.
- Use monitoring tools like Grafana, Zabbix, or OpenSearch Dashboards to track performance and detect unusual activity.
- Also, you can set up alerts for too many failed logins, sudden spikes in queries, or cluster health turning “yellow” or “red”.
4. TLS configuration OpenSearch Ubuntu
TLS configuration is an important step to secure OpenSearch clusters and encrypt traffic. Remove demo certificates and follow the steps below.
First, you must generate SSL certificates by using a trusted CA, and be sure to create separate certificates for each node.
Then, on each node, configure a transparent layer by editing opensearch.yml and adding:
plugins.security.ssl.transport.pemcert_filepath: certs/node1.pem
plugins.security.ssl.transport.pemkey_filepath: certs/node1-key.pem
plugins.security.ssl.transport.pemtrustedcas_filepath: certs/ca.pem
plugins.security.ssl.transport.enforce_hostname_verification: true
Next, for client traffic, configure the HTTP layer by adding:
plugins.security.ssl.http.enabled: true
plugins.security.ssl.http.pemcert_filepath: certs/node1-http.pem
plugins.security.ssl.http.pemkey_filepath: certs/node1-http-key.pem
plugins.security.ssl.http.pemtrustedcas_filepath: certs/ca.pem
Once you are done, verify TLS is working by using:
curl -k https://node1:9200 -u admin:passwordNote: Remember to rotate certificates regularly and disable old TLS versions.
5. OpenSearch Role-Based Access Control
Role-Based Access Control (RBAC) ensures that users only have access to what they truly need.
First, you must create roles. For example:
- read_only: Can view data but not modify.
- data_writer: Can insert data but not delete.
- admin: Full access.
Then, assign the created roles to users. For example, users who want to use dashboards only get read-only access.
Keep in mind that you never give a role more permissions than it needs. Here is an example of a role definition:
read_only:
  cluster_permissions:
    - "cluster_composite_ops_ro"
  index_permissions:
    - index_patterns:
        - "logs-*"
      allowed_actions:
        - "read"
6. OpenSearch Network Whitelisting
To protect your OpenSearch clusters, you can consider restricting network access.
- You must bind OpenSearch to private IPs. Do not use all interfaces.
- Allow only internal IPs or VPN subnets to connect to ports.
- Use a reverse proxy like Nginx to enforce TLS, rate limits, and authentication.
- If deploying OpenSearch in the cloud, place the cluster inside a private VPC or subnet.
7. Tips To Backup and Restore for OpenSearch Security
Backups will help you protect against losing data. But these backups must also be secure. To have a secure backup, you can:
Encrypt backups: If you use snapshots to S3, MinIO, or local storage, consider enabling encryption.
Protect credentials: Store access keys in a safe place, not common files.
Limit permissions: The backup role should only have access to snapshot APIs, not full admin access.
Test restores: Regularly test restoring from backup to confirm it works.
8. Secure OpenSearch with Intrusion Detection
Intrusion detection for an OpenSearch cluster means monitoring logs and network activity to spot unusual or unauthorized access.
On your Ubuntu server, you can use tools like Wazuh or OSSEC to check for suspicious changes. You can monitor essential files like opensearch.yml, certs, and logs for unauthorized changes. Tools like Suricata or Snort will help you analyze network traffic for attacks.
Enabling auditd on Ubuntu will help you log process activity, file access, and privilege escalation attempts. You can also define a clear process for detecting, responding to, and recovering from attacks.
By following these steps, you will have a secure OpenSearch cluster on Ubuntu.
FAQs
Why should I not use demo certificates in OpenSearch?
Demo certificates are only for testing. They are public and insecure. For a secure OpenSearch cluster on Ubuntu, you should generate certificates by a trusted CA.
How to enable TLS in OpenSearch?
You need to generate certificates for each node, configure them in opensearch.yml, and enable TLS for both the transport layer (between nodes) and the HTTP layer (client communication).
Can I use OpenSearch without securing it if it’s on a private network?
Even on a private network, it’s risky to run OpenSearch without security. Always enable TLS, RBAC, and logging.
Conclusion
Securing an OpenSearch cluster on Ubuntu isn’t just about setting it up; it’s about keeping your data safe and your system running smoothly. Start by changing default passwords and removing demo certificates. Always use TLS to encrypt data, and set up role-based access control (RBAC) so users only get the access they truly need. Limit access by whitelisting trusted networks and blocking everything else with a firewall. Keep an eye on logs, set up alerts, and regularly back up your data while also testing your restores.
Make sure Ubuntu and OpenSearch are always updated, and use intrusion detection to spot threats early.
We hope this guide is useful. Subscribe to us on X and Facebook to get the latest articles and news.
For further reading:
How to get started with a dedicated server
