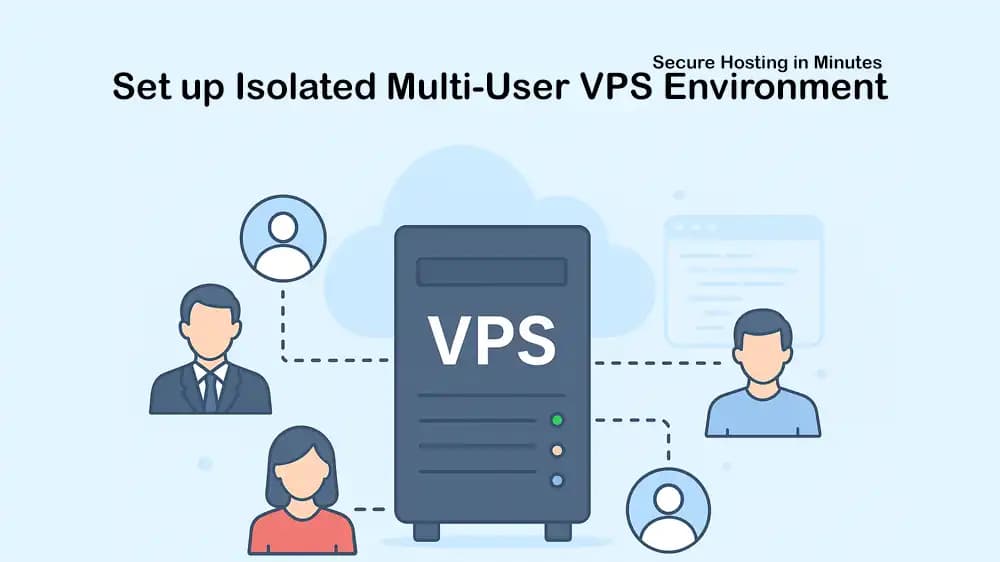
Managing multiple clients on a single VPS without proper isolation and structure can quickly become messy. This guide provides complete steps for setting up secure and client-specific environments on Ubuntu VPS, which is ideal for design studios, freelancers, and digital agencies that host multiple projects on one server. You will learn two methods to set up a multi-user VPS setup for agencies, including:
- Method A: Lightweight SFTP-only chroot jails for clients who just need file uploads, which is the safest and simplest option.
- Method B: Full developer workspaces using Docker containers, which offer isolated shells with resource limits while keeping each client’s files cleanly separated.
At PerLod Hosting, we often recommend these methods to our VPS customers who want better security, performance, and manageability across multiple projects on the same server.
Prerequisites: Multi-user VPS Setup for Agencies
To build a secure and scalable foundation for a multi-user VPS setup, you must prepare your server by installing the essential packages, enabling the firewall, and creating the directory structure that will serve as the root for all client data.
You can log in to your server as a root or non-root user with sudo privileges, then run the following commands to prepare your server.
Run the system update and upgrade with the following command:
apt update && apt upgrade -y
Install the required packages by using the command below:
apt install openssh-server ufw acl nginx -y
We use ACL for user permissions and Nginx to serve each client's website independently.
Allow required ports through the UFW firewall and enable it with the following commands:
ufw allow OpenSSHufw allow 80ufw allow 443ufw --force enable
To verify your rules, you can check the UFW status:
Create the directory structure that will serve as the root for all client data with the command below:
mkdir -p /srv/tenantschmod 755 /srv/tenantschown root:root /srv/tenants
Once you are done with these requirements, choose one of the following methods to set up a multi-user VPS setup for agencies.
Method A: Implement SFTP-Only Chroot Jails for File Transfer
The first method is to implement SFTP-Only Chroot Jails, which is the most secure method for clients who only require file transfer capabilities.
It is best for users who need to upload and download files such as website assets, static site generators, CMS themes, or data exports, but do not need to execute commands on the server. This method is extremely strong because users cannot run shell commands.
Proceed to the following steps to implement the SFTP-Only Chroot Jails method.
1. Create an SFTP Tenant Group
First, you must create a system group to which all SFTP-only users will belong. This allows you to apply a single and consistent security policy in the SSH configuration.
To do this, run the command below:
2. Create Jailed Directory Structure for Each Client
For each client, you must create a strict directory tree within the /srv/tenants root.
Note: An essential security principle here is that the chroot root itself must be owned by root and not writable by the user.
To do this, use the following commands. Remember to replace client code with your own:
client=acmemkdir -p /srv/tenants/$client/{data,public,upload}chown root:root /srv/tenants/$clientchmod 755 /srv/tenants/$client
3. Create Jailed User Account
At this point, you must create a system user that has no password login and whose shell is set to /usr/sbin/nologin. Also, the user's home directory is set to their chroot jail.
Create the SFTP-only user with the following commands:
adduser --home /srv/tenants/$client --shell /usr/sbin/nologin --disabled-password $clientusermod -aG sftp-tenants $client
Then, make writable folders owned by the client with the commands below:
chown -R $client:$client /srv/tenants/$client/data /srv/tenants/$client/public /srv/tenants/$client/uploadchmod -R 750 /srv/tenants/$client/data /srv/tenants/$client/public /srv/tenants/$client/upload
Important Note: The user can only write to the data/, public/, and upload/ subdirectories, not to the root of their jail.
4. Configure Client SSH Key-Based Authentication
You must add the client's public key to a root-owned .ssh directory within the jail to prevent them from modifying their own authorized keys.
To do this, you can run the commands below:
mkdir -p /srv/tenants/$client/.sshecho "ssh-ed25519 AAAA...client_key..." > /srv/tenants/$client/.ssh/authorized_keyschown -R root:root /srv/tenants/$client/.sshchmod 755 /srv/tenants/$client/.sshchmod 644 /srv/tenants/$client/.ssh/authorized_keys
5. Configure SSH Daemon for Chroot Jailing
In this step, you must add a Match rule in the SSH configuration that applies a strict policy to your sftp-tenants group.
Open the SSH config file with the command below:
nano /etc/ssh/sshd_config
In the file, ensure the following settings are applied:
Subsystem sftp internal-sftp Match Group sftp-tenants ChrootDirectory /srv/tenants/%u ForceCommand internal-sftp X11Forwarding no AllowTcpForwarding no PasswordAuthentication no
Once you are done, validate the configuration and reload the service with the commands below:
sshd -t && systemctl reload ssh
6. Test SFTP Jail
Now you can connect from your local machine to verify the setup. You should be able to transfer files, but not escape the jail or execute shell commands:
sftp -i /path/to/private_key $client@your.server.ip
7. Host a Static Website for the Client (Optional)
You can use the public/ directory to host a static website for the client. Create a simple Nginx virtual host that points directly into their jail with the command below:
cat >/etc/nginx/sites-available/$client.conf <<'EOF'server { listen 80; server_name acme.example.com; root /srv/tenants/acme/public; index index.html index.htm; location / { try_files $uri $uri/ =404; } location ~* \.(php|sh|pl)$ { deny all; } add_header X-Content-Type-Options nosniff;}EOF
Enable the configuration with the command below:
ln -s /etc/nginx/sites-available/$client.conf /etc/nginx/sites-enabled/
Check for syntax errors and reload Nginx to apply the changes:
nginx -t && systemctl reload nginx
Add a quick placeholder page with the commands below:
echo '<h1>ACME is live</h1>' > /srv/tenants/acme/public/index.htmlchown acme:acme /srv/tenants/acme/public/index.htmlchmod 644 /srv/tenants/acme/public/index.html
You can also secure it with Let's Encrypt:
apt install certbot python3-certbot-nginx -ycertbot --nginx -d acme.example.com --agree-tos -m admin@example.com --redirect -n
Method B: Use Docker Containers Workspaces for Isolated Clients
Another method to set up a multi-user VPS setup for agencies is to use Docker containers.
For users who require more than just file access, such as a full development environment with shell access, runtime languages like Node.js, Python, and PHP, and the ability to install packages, Docker containers provide isolated and resource-controlled workspaces for each client.
This method is best for developers or technical clients who need a complete, customizable environment for building and testing applications, but must remain isolated from the host system and other tenants.
Proceed to the next steps to implement the Docker containers.
1. Install Docker Engine for Multi-Tenant Environment
The first step is to add the official Docker repository and install the Docker Engine, which gives you access to the container runtime, CLI tools, and Compose functionality. To do this, run the commands below:
apt install ca-certificates curl -yinstall -m 0755 -d /etc/apt/keyringscurl -fsSL https://download.docker.com/linux/ubuntu/gpg | gpg --dearmor -o /etc/apt/keyrings/docker.gpgchmod a+r /etc/apt/keyrings/docker.gpg echo \ "deb [arch=$(dpkg --print-architecture) signed-by=/etc/apt/keyrings/docker.gpg] \ https://download.docker.com/linux/ubuntu $(. /etc/os-release; echo $VERSION_CODENAME) stable" \ > /etc/apt/sources.list.d/docker.list apt updateapt install docker-ce docker-ce-cli containerd.io docker-buildx-plugin docker-compose-plugin -ysystemctl enable --now docker
2. Build Client Development Image
Each client gets a customized container image for their development needs. You can create a secure Dockerfile with common development tools by using the command below:
client=acmemkdir -p /srv/tenants/$client/containercat >/srv/tenants/$client/container/Dockerfile <<'EOF'FROM ubuntu:24.04 RUN apt-get update && \ DEBIAN_FRONTEND=noninteractive apt-get install -y --no-install-recommends \ ca-certificates curl git nano vim zip unzip \ nodejs npm python3 python3-pip php-cli && \ apt-get clean && rm -rf /var/lib/apt/lists/* RUN useradd -ms /bin/bash devUSER devWORKDIR /home/devEOF
Then, build the image with the following command:
docker build -t tenant-$client:latest /srv/tenants/$client/container
3. Deploy Client Container with Strict Resource Limits
Now you can deploy the client's container with strict resource limits to prevent any single tenant from overwhelming the host system.
The following container runs on an isolated network, has its workspace directory bind-mounted for persistent storage, and operates with enforced CPU, memory, and process limits. Also, the sleep infinity command keeps the container running idle until we need to execute commands inside it:
docker network create tenants-net || true docker run -d --name tenant-$client \ --restart=unless-stopped \ --cpus="1.5" \ --memory="1g" \ --pids-limit=512 \ --network tenants-net \ -v /srv/tenants/$client/data:/workspace \ -w /workspace \ tenant-$client:latest \ sleep infinity
4. Access Development Environment
Now that the container is running, you can access the development environment.
For internal team members, direct command-line access via Docker exec provides full control:
docker exec -it tenant-$client bash
You will be user dev inside the container, working in /workspace, which is the client’s data directory.
For client access, a web-based terminal solution can be configured behind secure authentication. You can expose a terminal via code-server or ttyd behind Nginx with Basic Auth. Restrict it to localhost, reverse proxy it, and use HTTPS.
5. Maintain Strict Filesystem Separation
While Docker provides process-level isolation, maintaining strict filesystem separation at the host level is essential for true multi-user security.
Even though development occurs inside containers, all client files remain physically separated in their respective /srv/tenants/client directories. No container can access another client's data path, ensuring that even if a container is compromised, filesystem boundaries remain intact.
Set up Shared Team Access with ACLs for Internal Staff Only
In a multi-user VPS environment, your internal team members often need controlled access to client directories. While containers and SFTP jails handle client isolation, Access Control Lists (ACLs) provide the fine-grained permission management required for internal staff.
This allows you to grant specific read, write, or execute permissions to individual team members without compromising the core security separation between clients.
Grant user-specific directory access with the commands below:
setfacl -R -m u:designer1:rwx /srv/tenants/acme/data setfacl -R -m u:devops1:r-x /srv/tenants/acme/public
Then, configure inheritance with default ACLs:
setfacl -R -d -m u:designer1:rwx /srv/tenants/acme/data
Check that the ACLs have been applied correctly and review the current permission structure:
getfacl /srv/tenants/acme/data getfacl /srv/tenants/acme/data/project-files/
Multi-User System Hardening and Operational Controls
A multi-user system requires powerful controls to prevent resource abuse, protect against brute-force attacks, and ensure data recoverability.
You can implement three essential layers of protection, including process limits to contain resource consumption, intrusion prevention to block malicious access attempts, and automated backups to guarantee data persistence.
Process and File Limits for SFTP Users
Even though SFTP-only users do not have shell access, you can implement hard limits on processes and open files as a safety measure. This prevents file descriptor exhaustion that could occur through misconfigured applications.
The limits apply at the PAM level and are enforced system-wide for users in the sftp-tenants group.
Create an SFTP-tenants limits configuration with the command below:
echo '@sftp-tenants hard nproc 50@sftp-tenants hard nofile 1024' >/etc/security/limits.d/90-sftp-tenants.conf
Explanations:
- nproc 50: Limits each user to 50 total processes.
- nofile 1024: Restricts each user to 1024 open file descriptors.
- Hard limits: Cannot be exceeded, even if the user attempts to do so.
Use Fail2Ban for Intrusion Prevention
Fail2ban provides essential protection against brute-force attacks by automatically banning IP addresses that show malicious behavior. It monitors authentication logs and dynamically updates firewall rules to block repeated failed login attempts.
While SSH protection is enabled by default, Fail2ban can be extended to protect other services like web applications and FTP servers.
apt install fail2ban -ysystemctl enable --now fail2ban
You can customize protection settings in /etc/fail2ban/jail.local to adjust bantime, findtime, and maxretry.
Set up Automated Backup System
You can implement a modern and efficient backup tool that supports encrypted and deduplicated backups to cloud storage.
Install and initialize Restic with the commands below:
apt install -y resticexport RESTIC_REPOSITORY="s3:https://s3.wasabisys.com/your-bucket/tenants"export AWS_ACCESS_KEY_ID="XXXX"export AWS_SECRET_ACCESS_KEY="YYYY"restic init
Create an automated backup script with the command below:
cat > /usr/local/bin/backup-tenants.sh << 'EOF'set -euo pipefailexport RESTIC_REPOSITORY="s3:https://s3.wasabisys.com/your-bucket/tenants"export AWS_ACCESS_KEY_ID="XXXX"export AWS_SECRET_ACCESS_KEY="YYYY"export RESTIC_PASSWORD="superlongpass" restic backup /srv/tenants --tag tenantsrestic forget --keep-daily 7 --keep-weekly 4 --keep-monthly 6 --pruneEOF
Make executable and schedule daily backups with:
chmod +x /usr/local/bin/backup-tenants.shecho '0 3 * * * root /usr/local/bin/backup-tenants.sh' >/etc/cron.d/backup-tenants
Monitoring and Auditing in a Multi-Tenant Environment
Regular monitoring and auditing are essential for maintaining security, troubleshooting issues, and understanding usage patterns in a multi-tenant environment.
To track user access and authentication activity, you can use the commands below:
last -a | head journalctl -u ssh --since "24 hours ago"
To monitor recent file changes for a specific client, you can run the command below:
find /srv/tenants/acme -type f -mtime -1 -ls | head
Monitor web traffic and errors in real time with the command below:
tail -f /var/log/nginx/access.log /var/log/nginx/error.log
Disable a Client Access Without Data Loss (Account Suspension)
When you need to temporarily disable a tenant's access without deleting their data, account suspension provides an immediate solution. This method preserves all files and configuration while preventing any new connections or activity.
Immediately lock the user account with the command below:
For a comprehensive lock, you can comment out the SSH match lock in the /etc/ssh/sshd_config file.
Permanently Remove Client with Backup
Permanently removing a tenant requires careful execution to ensure all system traces are eliminated while maintaining compliance through final backups.
Create the final backup before deletion with the command below:
restic backup /srv/tenants/acme --tag before-delete
Delete the user account with the following command:
User deletion may fail due to root-owned directories, so remove it manually with:
Then, remove all tenant directories, data, and configurations:
rm -rf /srv/tenants/acmerm /etc/nginx/sites-enabled/acme.conf /etc/nginx/sites-available/acme.conf
Reload the web server to apply changes:
nginx -t && systemctl reload nginx
Conclusion
Creating isolated user environments on a single VPS gives your digital agency a professional-grade foundation for secure, multi-client hosting and development. By combining SFTP jails for strict file isolation with Docker containers for full-stack workspaces, you can balance performance, control, and safety, all without the complexity of managing multiple servers.
If you’re planning to use a reliable hosting provider, our Flexible VPS hosting solutions are optimized for agencies and developers who need secure and isolated environments for multiple clients.
We hope you enjoy this Multi-user VPS Setup for Agencies. Subscribe to our X and Facebook channels to get the latest articles on VPS hosting.
For further reading:
Enable GPU Passthrough on KVM VPS
Managing and Securing VPS API Gateways
Set up Blockchain Node Hosting on VPS