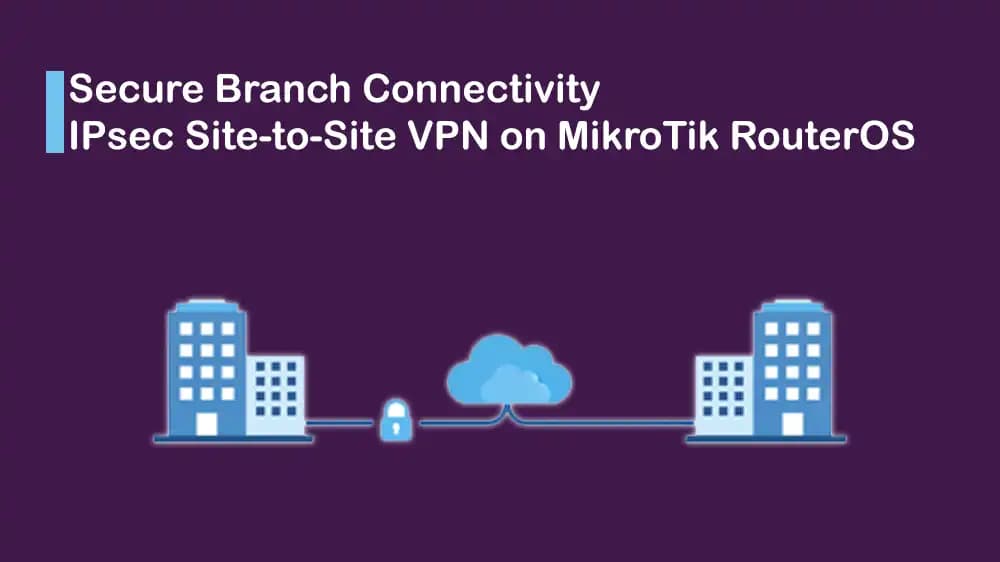
Site to Site IPsec on MikroTik VPS provides a secure and encrypted connection between geographically distributed branch offices, which enables seamless network communication over the public internet.
Organizations running multiple locations can use an affordable way to link their networks without paying for expensive private lines. MikroTik's RouterOS IPsec offers high-level security with standard encryption algorithms, which makes it ideal for businesses hosting their infrastructure on virtual private servers.
In this guide, you will learn to configure a complete branch-to-branch IPsec tunnel template using MikroTik VPS hosting infrastructure.
Network Architecture and IP Setup for Site to Site IPsec on MikroTik VPS
Before you start configuring Site to Site IPsec on MikroTik VPS, it is recommended to visualize how the networks communicate. In this guide, we want to connect two separate office locations, including Branch A and Branch B.
Each branch has a private LAN for internal devices and a static public IP address to connect to the internet. The IPsec tunnel will act as a bridge, which allows devices in Branch A to talk to devices in Branch B securely, as if they were in the same building.
We will use the following IP addresses for this configuration:
Branch A (Site A):
Public IP: 203.0.113.1
Local Network: 192.168.1.0/24
Router Interface: ether1 (WAN), bridge1 (LAN)
Branch B (Site B):
Public IP: 203.0.113.2
Local Network: 192.168.2.0/24
Router Interface: ether1 (WAN), bridge1 (LAN)
Note: Replace the public IPs above with the actual IP addresses provided by your MikroTik VPS hosting provider, like PerLod Hosting, and ensure your LAN subnets do not overlap.
Once you are done, proceed to the next steps to configure site to site IPsec on MikroTik VPS.
MikroTik IPsec Configuration for Branch A
At this point, you can configure the router at Branch A. You must define how encryption is handled, create a secure peer connection, and tell the router which traffic to send through the tunnel.
Note: Since IPsec requires identical settings on both sides, take note of the encryption and authentication values you choose here. You will need them to be the same for Branch B.
The place-before=0 ensures this rule processes before masquerade rules.
MikroTik IPsec Configuration for Branch B
Now that Branch A is ready, we need to configure the router at Branch B to match it. The settings are the same as those of Branch A. The only difference is that we swap the source and destination IP addresses to point back to Branch A.
Now that both routers are configured for site to site IPsec on MikroTik VPS, you must confirm the VPN is active and passing traffic. Use the following commands to validate the tunnel status and ensure the connection is stable.
Check the IPsec status with the command below:
Bash
/ipipsecinstalled-saprint
This displays active Security Associations (SAs) showing encrypted tunnel status. You must look for established SAs with matching source and destination addresses.
Verify policy status with the command below:
Bash
/ipipsecpolicyprint
Confirm that policies show ph2-state=established, which indicates successful Phase 2 negotiation.
Test connectivity with the following command:
Bash
/ping192.168.2.1src-address=192.168.1.1
You must ping from Branch A's local network to Branch B's network. Successful replies confirm the tunnel is functioning.
This site to site IPsec on MikroTik VPS configuration creates a secure and encrypted tunnel between two branch offices, which enables seamless network communication over the internet.
Conclusion
Setting up site to site IPsec on MikroTik VPS is one of the most reliable ways to bridge geographically separated networks. By following this branch-to-branch template, you have created a secure and encrypted tunnel that allows your offices to communicate as if they were in the same building.
For a stable VPN, ensure your settings match exactly on both routers. If the connection fails, double-check that your proposals, profiles, and pre-shared keys are identical.
With this complete setup, your infrastructure is secure and ready to scale.
Note: This guide covers a branch-to-branch connection. For multiple branches, you would configure one central VPS as the hub and have all other branches connect to it. You need to repeat the peer and policy configurations for each new branch on the hub router.
We hope you enjoy this guide. Subscribe to our X and Facebook channels to get the latest updates and articles on MikroTik VPS Hosting.
This is usually a firewall or NAT issue. Ensure you have added the NAT Bypass rule before your masquerade rule. Also, check that the receiving router's firewall allows input traffic from the remote local subnet.
Encryption uses CPU power. To avoid slow speeds on smaller plans, make sure your VPS supports hardware encryption (AES-NI).
Yes, but it is complicated. You need to use a script or Mode Config to update the IP automatically. For a stable connection, we highly recommend using static IPs from your MikroTik VPS hosting provider instead.
We use cookies to run PerLod and to understand how the site is used. You can accept everything, or open Manage to turn individual categories off. Cookie policy.