Terraform and Ansible Dedicated Server Automation
Manually setting up and configuring dedicated servers can be slow and full of errors. You can combine and use tools like Terraform and Ansible to make this process faster and much easier. This tutorial will show you how to use Terraform and Ansible Dedicated Server Automation to configure provisioned infrastructure. You can use Ansible and Terraform for web hosting, databases, game servers, and CI/CD pipelines. Let’s start automation with Terraform and Ansible.
Table of Contents
Introduction To Terraform and Ansible
Terraform is an Infrastructure as Code (IaC) tool. You can describe your infrastructure in a .tf file, and Terraform builds it automatically. It automates infrastructure creation and works with many providers like PerLod, AWS, Hetzner, bare-metal, etc.
Ansible is a configuration management tool that installs apps, applies updates, and configures apps after Terraform creates the server. It uses easy YAML files called Playbooks and works perfectly with Terraform.
Let’s start by installing Terraform and Ansible.
1. Install Terraform
Depending on your OS, you can use the following commands to install Terraform.
Install Terraform in Debian/Ubuntu Linux:
sudo apt update && sudo apt install gnupg software-properties-common -y

wget -O - https://apt.releases.hashicorp.com/gpg | sudo gpg --dearmor -o /usr/share/keyrings/hashicorp-archive-keyring.gpg

echo "deb [arch=$(dpkg --print-architecture) signed-by=/usr/share/keyrings/hashicorp-archive-keyring.gpg] https://apt.releases.hashicorp.com $(grep -oP '(?<=UBUNTU_CODENAME=).*' /etc/os-release || lsb_release -cs) main" | sudo tee /etc/apt/sources.list.d/hashicorp.list

sudo apt update && sudo apt install terraform -y
Install Terraform in RHEL Distributions:
sudo dnf install dnf-plugins-core -y

sudo dnf config-manager --add-repo https://rpm.releases.hashicorp.com/RHEL/hashicorp.repo

sudo dnf install terraform -y
Install Terraform in macOS:
brew tap hashicorp/tap
brew install hashicorp/tap/terraform
Install Terraform in Windows:
First, download Terraform for Windows. Then, select Windows 64-bit and download the .zip file. Extract the file and copy terraform.exe to C:\Terraform or any folder you want. Add that folder to your System PATH: Press Windows + R, type sysdm.cpl → Advanced → Environment Variables and Edit Path, click New, and add C:\Terraform.
Open PowerShell or Command Prompt to verify the installation:
terraform -versionOnce you are done with installing Terraform, proceed to the next step to install Ansible.
2. Install Ansible
You can easily install Ansible on Linux and macOS by using the package manager. In Windows, you can use WSL.
Install Ansible in Debian/Ubuntu Linux:
sudo apt update
sudo apt install ansible -y
Install Ansible in RHEL:
sudo dnf install epel-release -y
sudo dnf install ansible -y
Install Ansible in macOS:
brew install ansibleInstall Ansible in Windows via WSL:
Enable WSL from PowerShell Admin:
wsl --installThis installs Ubuntu by default. Inside Ubuntu, run the command below:
sudo apt update
sudo apt install ansible -y
Now you can start automation with Terraform and Ansible.
Use Terraform and Ansible Dedicated Server Automation
At this point, we want to show you an example of using Ansible and Terraform together. We will show you an example with PerLod Hosting Servers; you can use other providers like AWS, DigitalOcean, etc. Terraform will build the dedicated server in your provider, and Ansible will configure that server.

1. Configure Terraform to Create a Dedicated Server
First, you must create a Terraform configuration file named main.tf in your working folder and add the following config lines to it:
provider "pcloud" {
  token = "your_pcloud_api_token"
}

resource "pcloud_server" "dedicated" {
  name        = "your-hostname"
  server_type = "cx21"          # Change to dedicated server type
  image       = "ubuntu-24.04"
  location    = "nl1"
  ssh_keys    = ["your-ssh-key"]
}
File explanation:
provider "pcloud": Provider in use, like PerLod.token: API token from provider.resource "pcloud_server" "dedicated": Describes a server resource that Terraform should create.name: Server’s hostname.server_type: Size or type of server (small, medium, large, or dedicated).image: Operating system.location: Data center location (nl1).ssh_keys: Allows you to connect via SSH without typing a password (must already be uploaded to PerLod).
Once you are done with creating the main config file, you must run the following command in the same working folder to initialize Terraform:
terraform initThis will download the provider plugin and prepare Terraform to work.
Then, you can run the preview plan to see what Terraform will do:
terraform planFinally, apply the changes to create the server, and Terraform will ask you for confirmation. Type yes to complete the process:
terraform applyYou have created the server with Terraform; now you can use Ansible to configure it.
2. Use Ansible to Configure the Dedicated Server
At this point, you must create an inventory.ini file. This file tells Ansible where your server is and how to connect to it.
[dedicated]
server’s IP address ansible_user=loginuser ansible_ssh_private_key_file=~/.ssh/id_rsa
Once you are done, you must create a playbook.yml file, which defines the tasks to run on your server:
---
- name: Configure Dedicated Server
  hosts: dedicated
  become: yes
  tasks:
    - name: Update system packages
      apt:
        update_cache: yes
        upgrade: dist

    - name: Install apache2
      apt:
        name: apache2
        state: present

    - name: Start apache2
      service:
        name: apache2
        state: started
        enabled: yes

    - name: Create index.html
      copy:
        dest: /var/www/html/index.html
        content: "<h1>Welcome to PerLod Automated Dedicated Server!</h1>"
This will update system packages, install Apache, start Apache, and create a custom homepage in /var/www/html/.
Next, you must run the playbook on your server with the command below:
ansible-playbook -i inventory.ini playbook.ymlBy running this command, your dedicated server will update packages, install and run Apache, and also have a simple welcome page deployed.
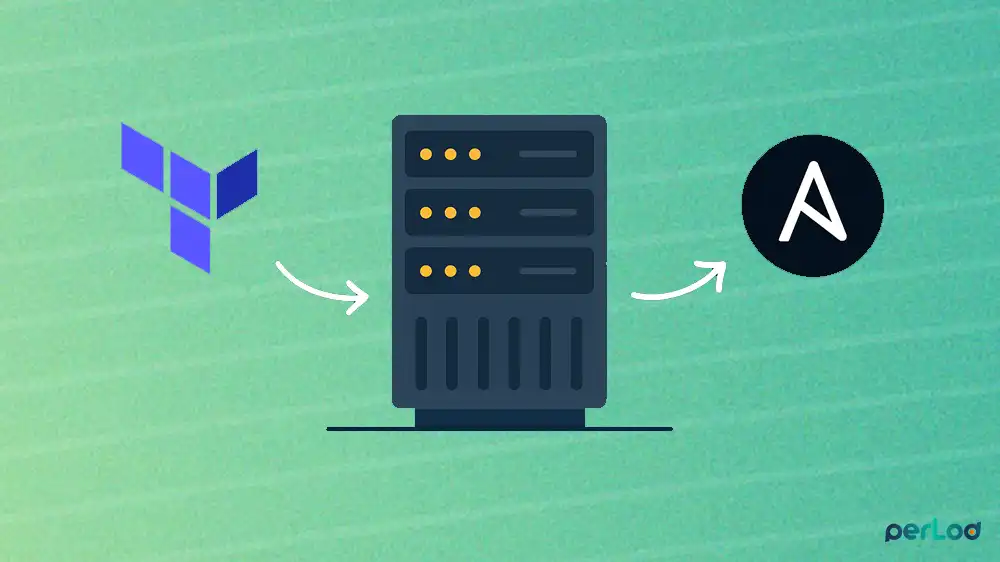
With these three files (main.tf, inventory.ini, playbook.yml) and the commands explained, you now have end-to-end automation. Terraform creates the server, and Ansible configures it.
3. Combine Terraform and Ansible
In the real projects, Terraform will create the server and directly pass the IP address to Ansible. With this way, you can run a server and configure it in just a few minutes.
terraform apply -auto-approve

ansible-playbook -i inventory.ini playbook.yml
FAQs
Is automation with Terraform and Ansible secure?
Yes, it is secure. Try to use SSH keys, store data in Terraform variables or Ansible Vault, and keep your automation scripts in version control.
Do I need programming skills to use Terraform and Ansible?
No advanced programming is required. Both tools use simple configuration languages.
Which operating systems support Terraform and Ansible?
Both work on Linux, macOS, and Windows.
Final Words
By using Terraform (infrastructure) and Ansible (configuration), you can easily fully automate dedicated server setups. Terraform will build the server, and Ansible will configure the software. Combining these will improve your speed. We hope you enjoy Automating Server Provisioning with Terraform and Ansible.
Subscribe to our X and Facebook channels for the latest updates. Also, if you want a reliable performance, you can purchase your Dedicated Server and boost your projects.
