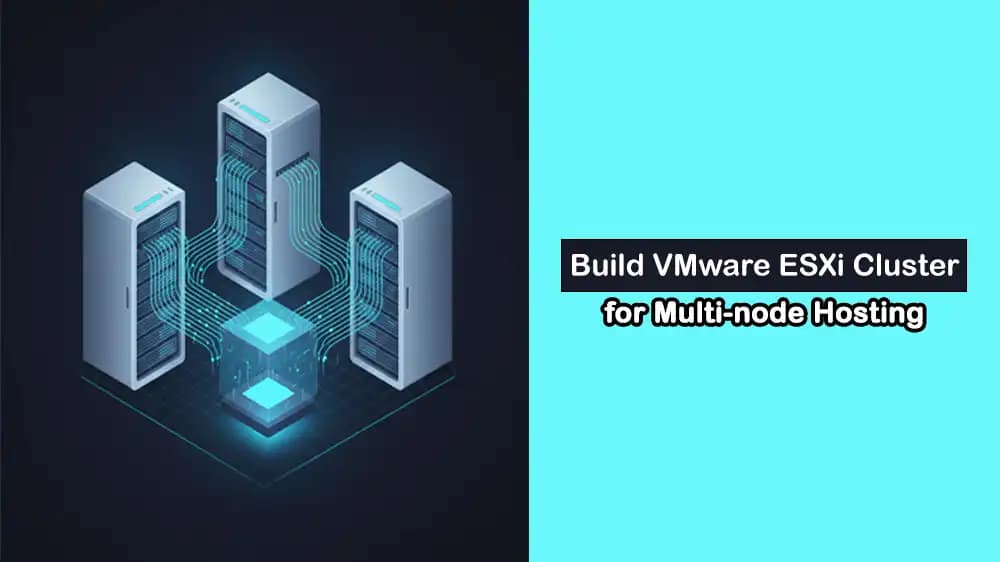
A VMware ESXi cluster setup for multi-node hosting is a group of ESXi servers that work together and share their CPU, RAM, storage, and network to run virtual machines as one big pool of resources.
An ESXi cluster is created in vCenter by adding two or more ESXi hosts into a single logical group. Once in a cluster, the hosts’ resources are managed together, and features like HA (High Availability), DRS (load balancing), and vMotion become available for the VMs.
It is used to:
- Keep services running if a host goes down, because VMs can restart or move to other hosts automatically.
- Spread workload across multiple servers so no single host is overloaded, improving performance and scalability for many VMs.
In this guide from PerLod Hosting, you will learn to plan, install, and test a VMware ESXi cluster from bare metal setup to a fully operational vSphere environment with HA and DRS enabled.
Prerequisites and Plan for VMware ESXi Cluster Setup
The first step is to choose the right hardware, network layout, and licenses so that the environment is stable and easy to scale.
Hardware: At least 2-3 dedicated servers that are on the VMware HCL, shared storage (iSCSI/NFS/SAN) for HA, and redundant networking where possible.
Network Plan:
- Management network for ESXi management and vCenter.
- vMotion network, recommended dedicated.
- A storage network, such as iSCSI or NFS, is used if you use shared storage.
Licensing and versions: vCenter Server license and ESXi host licenses, same major ESXi version across nodes for a clean cluster.
Also, you must decide what the cluster will be used for and how strictly HA and DRS should protect and balance your workloads.
Install and Configure ESXi Hosts
You must install ESXi on each physical server and make sure every host is ready to join the cluster.
For each physical server:
- Mount the ESXi ISO via remote management or USB, boot, and follow the installer wizard.
- Choose the target disk for ESXi, set the root password, and complete the installation; then reboot and set the management network IP from DCUI.
You must repeat for all nodes that will join the cluster.
Then, confirm that CPUs, network cards, and shared storage are detected correctly on every host. Log in via SSH or DCUI shell on each host and run the commands below.
List CPUs and NUMA information with the commands below:
esxcli hardware cpu listesxcli hardware memory get
Check NICs with the following command:
Check storage and datastores with:
esxcli storage vmfs extent list esxcli storage filesystem list
Deploy and Prepare vCenter Server Appliance
In this step, you must deploy vCenter, which is the central management for your ESXi cluster with HA and DRS.
1. Install the vCenter Server Appliance (VCSA):
Run the VCSA installer from the ISO on a workstation and deploy the appliance to one ESXi host or to an existing management environment.
Follow the stages:
- Stage 1: Select target ESXi host, VM name, size, and datastore.
- Stage 2: Set SSO domain (for example, vsphere.local), NTP, and network settings.
2. After deployment, log in to the vSphere Client via HTTPS to the vCenter FQDN.
Then, you must create a datacenter object and attach all ESXi hosts so you can manage them in one place and later enable features like HA and DRS.
From vSphere Client:
Right-click the vCenter object, select “New Datacenter”, and give a name.
Right-click the Datacenter, select “Add Host”, and provide:
- ESXi host IP/FQDN.
- Root credentials.
- License assignment and lockdown choice.
- Confirm and finish.
Repeat “Add Host” for all ESXi nodes.
Create a vSphere Cluster and Enable HA/DRS
At this point, you can create the actual vSphere cluster and enable core features like HA and DRS.
1. First, create a new cluster object in vCenter.
From vSphere Client:
Right-click the Datacenter, select “New Cluster”.
Enter cluster name and optionally pre-enable:
- vSphere HA for host failure recovery.
- vSphere DRS for load balancing.
- vSAN, if using vSAN.
Finish the wizard; a cluster object appears in the inventory.
- If you initially skip HA/DRS, you can enable them later in cluster Settings.
2. Then, you can drag existing hosts from the datacenter into the cluster or:
Right-click the cluster, select “Add Hosts”.
Enter ESXi host addresses and credentials one by one, confirm fingerprints, and complete.
Once hosts are added, their CPU and RAM become shared cluster resources.
Keep VMs Online with vSphere HA
You can configure vSphere HA so your virtual machines can automatically restart on other hosts if one ESXi server fails.
You must enable HA at the cluster level, tune key options like host monitoring, admission control, and datastore heartbeating, and optionally configure VM monitoring to protect against guest OS hangs.
First, select the cluster, choose the “Configure” tab, and then “vSphere Availability”.
From there, click “Edit” and enable vSphere HA.
Key settings include:
- Host Monitoring: Enabled so HA can detect host failures.
- Admission Control: Set “Host failures cluster tolerates”, for example, 1 or 2, or a percentage-based policy.
- Datastore Heartbeating: Choose automatic or specify heartbeat datastores.
- VM Monitoring (optional): Restarts VMs if the OS stops sending the VMware Tools heartbeat.
After enabling, vCenter configures HA agents on each host, and the “vSphere HA” status changes to green.
Optimize Cluster Load with vSphere DRS
Now you can enable vSphere DRS so your cluster can automatically balance CPU and memory usage across hosts and move VMs when needed.
Choose cluster, select “Configure”, then select “vSphere DRS” and “Edit”.
From there, Turn ON vSphere DRS.
Choose Automation Level:
- Manual: Only shows recommendations.
- Partially Automated: Automatic initial placement, manual for balancing.
- Fully Automated: Auto placement and migrations.
Set DRS Migration Threshold between 1 to 5, where a higher value means more aggressive migrations.
Also, you define VM or Host groups and set rules:
Navigate to:
Cluster → Configure → “VM/Host Rules”
Create groups, then define rules like “Keep these VMs together” or “Separate these VMs across hosts”.
Build Reliable Networking and Shared Storage for Multi-Node Hosting
Now you must give your ESXi hosts the right network and storage setup so the cluster can work smoothly.
For a simple multi-node setup using vSphere Standard Switches, you can follow:
On each ESXi host, ensure:
- Management vmkernel port with correct VLAN and IP.
- vMotion vmkernel port on a separate network, which is recommended.
- Storage vmkernel ports for iSCSI/NFS if needed.
Then, you can perform basic ESXCLI network checks.
List physical NICs with:
Check firewall status with:
esxcli network firewall get
esxcli network ip route ipv4 list
Add a static route with the example command below:
esxcli network ip route ipv4 add --gateway 10.10.1.1 --network 10.10.0.0/16 --interface vmk0
These help verify connectivity for management, vMotion, and storage per host.
Also, you need shared datastores visible to all hosts for HA and vMotion of powered-on VMs.
For VMFS on SAN/iSCSI:
- Present LUNs from storage to all hosts through HBA or software iSCSI.
- On each host, rescan adapters and create a VMFS datastore from the vSphere Client.
Useful ESXCLI storage commands include:
List VMFS extents and mapping by using:
esxcli storage vmfs extent list
List all storage devices with the command below:
esxcli storage core device list
Show iSCSI adapters by using the command below:
esxcli iscsi adapter list
Rescan all storage adapters with:
esxcli storage core adapter rescan --all
List NFS datastores by using the following command:
These commands verify that each node sees the same datastores and paths.
Quick Health Checks with ESXCLI
You can easily use ESXCLI commands to check the health and configuration of each ESXi host in your cluster.
You can run simple system, hardware, network, and storage commands to verify versions, CPU and memory details, vSwitch and vmkernel interfaces, and storage paths, so you can be sure all nodes are consistent and see the same resources.
For system check:
esxcli system version get esxcli system hostname get
esxcli hardware cpu list esxcli hardware memory get
esxcli network vswitch standard list esxcli network ip interface list
esxcli storage core adapter list esxcli storage core path list
Test ESXi Cluster with Real Operations
At this point, you can run final checks to make sure your ESXi cluster works as expected.
Create a test VM on the shared datastore and power it on.
Perform a vMotion (migrate compute only) between hosts to ensure vMotion network and CPU compatibility work.
Test HA behaviour in a maintenance scenario by navigating:
Right-click host → “Enter Maintenance Mode”
Ensure DRS/vMotion migrates VMs off automatically if Fully Automated.
For smooth production use, document key settings like HA/DRS rules, network details, and storage maps
Conclusion
VMware ESXi cluster setup for multi-node hosting turns a set of individual servers into a single, flexible resource pool that can run many virtual machines with higher uptime and easier management.
We hope you enjoy this guide. Subscribe to our X and Facebook channels to get the latest articles.