How to Expose a Self-Hosted App Securely with Cloudflare Tunnel on a VPS
If you are running a self-hosted app on a VPS and you do not want to open ports 80 or 443 to the internet, Cloudflare tunnel without port forwarding is the best solution you can choose. It lets you publish your app through Cloudflare’s global network using only an outbound connection from your server.
This guide covers account preparation, installing cloudflared, configuring a tunnel, routing DNS, and hardening your server. Both a system service install for native apps and a Docker Compose install are also covered.
Table of Contents
What Is a Cloudflare Tunnel?
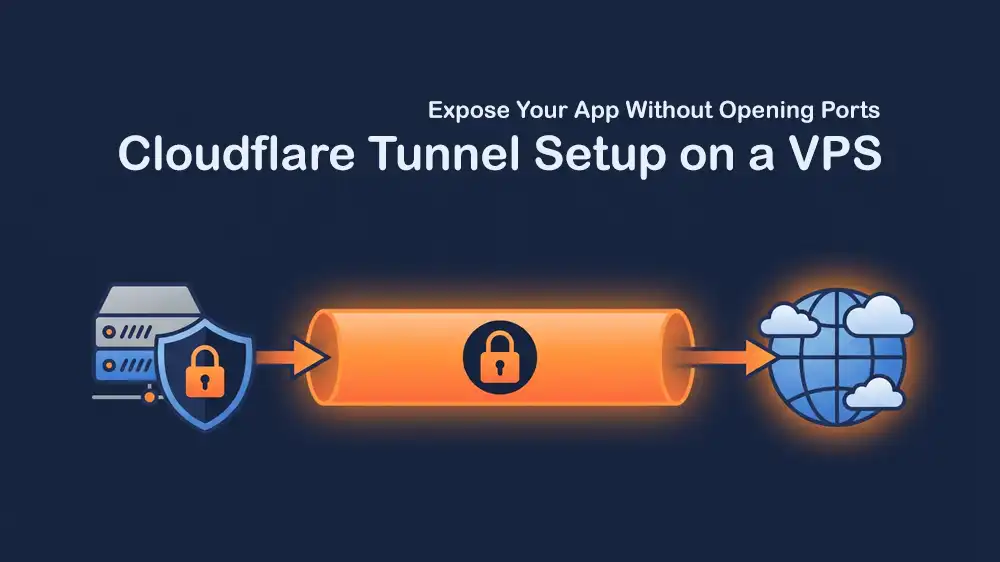
A Cloudflare Tunnel works by running a small daemon called cloudflared on your server. This daemon opens a persistent outbound connection to Cloudflare’s edge network. When someone visits your domain, Cloudflare receives the request and forwards it through that tunnel to your app.
This is the opposite of traditional port forwarding. Instead of your server waiting for incoming connections on port 80 or 443, cloudflared reaches out to Cloudflare and keeps that connection alive. All requests travel through it in reverse.
Key benefits include:
- No open inbound ports on your VPS firewall.
- Your server’s real IP stays hidden from the public.
- Automatic HTTPS: Cloudflare manages TLS certificates for you.
- Built-in DDoS protection and WAF from Cloudflare’s network.
- Works behind strict firewalls and NAT.
- The free tier is sufficient for personal and small team use.
When to Use Cloudflare Tunnel Instead of Direct Port Exposure
The usual way to host an app is simple, you open ports 80 and 443 on your VPS, point your domain to your server’s IP, and use something like Nginx or Caddy to handle traffic. It works, but it comes with some risks, especially for solo developers or small teams:
- Your server IP is public, so bots and scanners can hit it directly.
- You have to manage SSL certificates yourself.
- A bad Nginx or app config can expose your server.
- DDoS attacks go straight to your machine.
Cloudflare tunnel without port forwarding changes this way, your server is no longer exposed to the internet. Instead, Cloudflare sits in front, handles SSL, filters out bad traffic, and only sends safe requests through the tunnel. For small teams running internal tools, dashboards, or staging apps, this setup is simpler, safer, and easier to manage.
Note: Cloudflare’s Terms of Service prohibit using the free plan to proxy large amounts of video streaming. For standard web apps, APIs, and internal tools, the free plan is perfectly fine.
Prerequisites to Set up Cloudflare Tunnel without Port Forwarding
Before you start, make sure you have:
- A VPS running Linux. A basic 1-core/1GB RAM VPS is enough.
- A domain name with DNS managed by Cloudflare, nameservers must point to Cloudflare.
- A free Cloudflare account at the Cloudflare dashboard.
- SSH access to your VPS as a user with sudo privileges.
- Docker and Docker Compose are installed on the VPS, only needed for the Docker method.
Now you can proceed to the following steps to set up Cloudflare Tunnel without port forwarding.
Set Up Your Cloudflare Account and Domain
To set up Cloudflare Tunnel without port forwarding, you must add your domain to Cloudflare. If your domain is not already on Cloudflare, follow these steps:
- Log in to the Cloudflare dashboard.
- Click Add a site, enter your domain name, and choose the Free plan.
- Cloudflare scans your existing DNS records automatically.
- Cloudflare gives you two nameservers.
- Go to your domain registrar and replace the current nameservers with Cloudflare’s nameservers.
- Wait 5–30 minutes for the change to propagate. Cloudflare sends you an email when the domain is active.
Tip: If you need a domain, you can check PerLod for affordable Domain options, then point the nameservers to Cloudflare as described above.
Create the Tunnel in the Dashboard
Now you must create your tunnel. In the Cloudflare dashboard, go to Zero Trust or One.
From there, navigate to Networks > Tunnels, then click Create a Tunnel.
Choose Cloudflared as the connector type and give your tunnel a name, for example, my-vps-apps. Then, click Save Tunnel.
You will land on the Install and run a connector page. Keep this page open, you will need the token or install commands in the next steps.
Method A: Install via System Service
This method runs cloudflared as a native Linux system service. It is ideal if your app is already running directly on the VPS, for example, a Node.js app, a Python app, or an Nginx site.
Install cloudflared
SSH into your VPS and download the latest AMD64 or x86_64 release:
wget https://github.com/cloudflare/cloudflared/releases/latest/download/cloudflared-linux-amd64.debInstall the package:
sudo dpkg -i cloudflared-linux-amd64.debIf any dependencies are missing, fix them:
sudo apt-get install -fVerify your installation:
cloudflared --versionFor ARM64 servers, for example, Ampere-based VPS, replace amd64 with arm64 in the filename.
For RPM-based distros, you can use:
wget https://github.com/cloudflare/cloudflared/releases/latest/download/cloudflared-linux-x86_64.rpm
sudo rpm -ivh cloudflared-linux-x86_64.rpm
Authenticate cloudflared
cloudflared tunnel loginThis opens a browser URL. Open it, log in to Cloudflare, and select the domain you added earlier. This creates a cert.pem in ~/.cloudflared/.
Create the Tunnel via CLI
cloudflared tunnel create my-vps-appsThis command:
- Creates a tunnel with a unique UUID.
- Generates a credentials JSON file at
~/.cloudflared/UUID.json.
Copy the UUID from the output; you will need it next. Also, you can list tunnels anytime:
cloudflared tunnel listWrite the Configuration File
Create the config directory and file:
sudo mkdir -p /etc/cloudflared
sudo nano /etc/cloudflared/config.yml
Paste this with your Tunnel UUID and the hostname:
tunnel: <YOUR-TUNNEL-UUID>
credentials-file: /root/.cloudflared/<YOUR-TUNNEL-UUID>.json

ingress:
  # Route app.yourdomain.com to a local app on port 3000
  - hostname: app.yourdomain.com
    service: http://localhost:3000
  # Route a second app (optional)
  - hostname: dashboard.yourdomain.com
    service: http://localhost:8080
  # Catch-all rule — required, must be last
  - service: http_status:404
The ingress section is where you map public hostnames to local services. Every config file must end with a catch-all rule that has no hostname. You can expose as many apps as you want from a single tunnel.
Validate your config before starting:
cloudflared tunnel ingress validateCreate the DNS Records
For each hostname in your config, create a CNAME DNS record pointing to the tunnel:
cloudflared tunnel route dns my-vps-apps app.yourdomain.com
cloudflared tunnel route dns my-vps-apps dashboard.yourdomain.com
This command creates a CNAME record in your Cloudflare DNS automatically. The record points to:
<UUID>.cfargotunnel.comAlternatively, you can add the CNAME record manually in the Cloudflare dashboard under DNS > Records.
Run and Enable as a System Service
At this point, you can install cloudflared as a systemd service so it starts automatically on boot:
sudo cloudflared --config /etc/cloudflared/config.yml service install
sudo systemctl enable cloudflared
sudo systemctl start cloudflared
Check the status:
sudo systemctl status cloudflaredYour service must be active and running. Now your app is live on the internet at:
https://app.yourdomain.comMethod B: Install via Docker Compose
This method is perfect if your app already runs in Docker containers. The cloudflared container joins the same Docker network and talks to other containers by service name; no ports need to be published to the host.
Get the Tunnel Token
On the Install connector page in the Cloudflare dashboard, select Docker as the environment. You will see a command like:
docker run cloudflare/cloudflared:latest tunnel --no-autoupdate run --token <YOUR-TOKEN>Copy the token value, the long string after --token.
Create the Docker Compose File
Create a project directory and a Compose file:
mkdir ~/cloudflared && cd ~/cloudflared
nano docker-compose.yml
Add this configuration example, exposing two apps:
services:
  cloudflared:
    image: cloudflare/cloudflared:latest
    restart: unless-stopped
    command: tunnel --no-autoupdate run
    environment:
      - TUNNEL_TOKEN=<YOUR-TUNNEL-TOKEN>
    networks:
      - tunnel-net

  myapp:
    image: nginx:latest
    restart: unless-stopped
    networks:
      - tunnel-net

  dashboard:
    image: traefik/whoami
    restart: unless-stopped
    networks:
      - tunnel-net

networks:
  tunnel-net:
    driver: bridge
Key points about this setup:
- The cloudflared container communicates with myapp and dashboard by service name, not by IP.
- No ports are published to the host.
- All containers share the tunnel-net network, so cloudflared can reach them.
Start everything:
docker compose up -d
docker compose logs -f cloudflared
Add Public Hostnames in Dashboard
At this point, back in the Cloudflare Zero Trust dashboard > Networks > Tunnels > click your tunnel > Edit > go to the Public Hostname tab:
- Click Add a public hostname.
- Subdomain:
app| Domain:yourdomain.com. - Service Type:
HTTP| URL:myapp(the Docker service name). - Click Save.
Repeat for the second app, using the dashboard as the URL. Cloudflare creates the DNS CNAME records automatically.
Harden Your VPS Firewall
Now that you have finished setting up Cloudflare Tunnel without port forwarding, you do not need ports 80 or 443 open on your VPS at all. You can use UFW to lock things down:
# Allow SSH (do this first, never lock yourself out)
sudo ufw allow ssh

# Allow the outbound tunnel (cloudflared connects out on port 7844 or falls back to 443)
# UFW allows all outbound by default, so this is already fine

# Deny direct inbound HTTP/HTTPS
sudo ufw deny 80/tcp
sudo ufw deny 443/tcp

# Enable UFW if not already on
sudo ufw enable
sudo ufw status
Your app is only reachable through Cloudflare’s edge. Direct connections to your VPS IP on ports 80 and 443 are blocked. SSH stays open so you can manage the server normally.
Note: Cloudflared uses port 7844 (UDP/QUIC) for its tunnel connection. If your VPS provider blocks outbound UDP, cloudflared falls back to HTTPS (port 443 outbound), which is almost always allowed. No inbound ports are needed either way.
For additional security hardening of your web setup, you can also check this guide on CDN and Edge Rules for VPS Websites, which covers WAF rules, caching, and edge configuration that pair well with Cloudflare Tunnel.
Verify Everything Works in Cloudflare Tunnel without Port Forwarding
You can use these commands to verify everything works correctly in Cloudflare Tunnel without port forwarding.
Check tunnel service status for the system service method:
sudo systemctl status cloudflaredCheck Docker container logs for Docker method:
docker compose logs cloudflaredTest that your local app is running:
curl http://localhost:3000From outside, in your browser, open:
https://app.yourdomain.comIn the Cloudflare dashboard under Networks > Tunnels, your tunnel should show a green Healthy status. If it shows Down, check:
Is cloudflared running? You can use:
systemctl status cloudflared
docker ps
Is your app actually listening on the port you configured?
curl http://localhost:3000Are your DNS records set to Proxied (orange cloud) in Cloudflare DNS?
Conclusion
Setting up Cloudflare tunnel without port forwarding on a Linux VPS is one of the most practical security upgrades you can make to a self-hosted setup. You get a public HTTPS URL for your app, DDoS protection, automatic TLS, and a hidden server IP, all without touching your firewall’s inbound rules.
You can use a reliable Linux VPS server, deploy your app, drop in cloudflared, and you have a public URL without any of the traditional exposure risks.
We hope you enjoy this guide on Cloudflare Tunnel without port forwarding. For more advanced tunnel features, you can check the Cloudflare Tunnel Official Documentation.
FAQs
Do I need a paid plan for setting up Cloudflare tunnel without port forwarding?
No. The free Cloudflare plan supports Cloudflare Tunnel fully for standard web apps and internal tools.
Can I expose multiple apps through one Cloudflare tunnel?
Yes. Add multiple entries to the ingress block in your config.yml (system service method), or add multiple public hostnames in the dashboard (Docker method).
Is my server IP completely hidden with Cloudflare Tunnel without port forwarding?
Yes, as long as you do not have an A record pointing your domain directly to your server IP, and ports 80/443 are blocked on your firewall.
