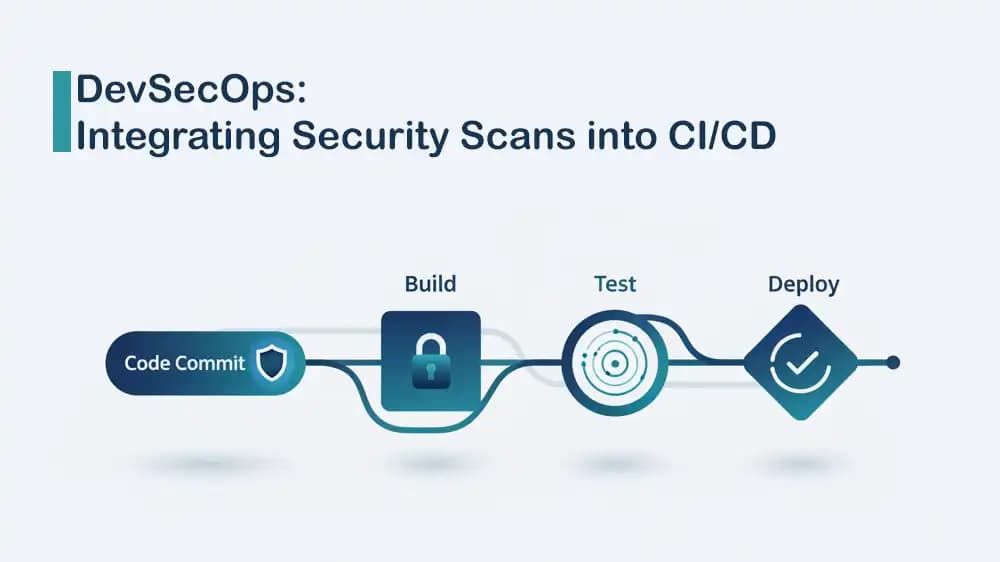
DevSecOps CI/CD integration means adding security checks into your pipeline so you can find issues early, before the code reaches production. Instead of performing security checks at the end, the pipeline scans every change automatically and provides fast feedback to the team.
This article from PerLod Hosting covers secret scanning, code and dependency checks, Docker image vulnerability scanning, and basic dynamic testing on the running app.
The result is a pipeline that provides developers with fast feedback, offers auditable security signals, and helps organizations release with confidence without slowing down delivery.
Requirements for DevSecOps CI/CD integration
Before you begin, you must be sure to meet the following requirements. You need a:
- GitHub account to host the repository.
- Git to push your changes, or you can edit directly in GitHub.
- Basic understanding of creating files and committing updates.
Also, if you want to run and test the sample app on your own machine, you can install Docker Desktop, but it is optional since the CI/CD pipeline itself runs on GitHub’s servers.
- OS: Ubuntu 22.04 or 24.04, Windows 10 or 11, macOS.
- Docker: Docker Desktop for Windows and macOS, Docker Engine for Linux.
- Python: 3.10+ recommended for local testing; the container will run Python from the Docker image.
Note: For consistency, it’s better to pin the runner OS instead of relying on ubuntu-latest, because ubuntu-latest can change over time. In this tutorial, we will use Ubuntu 24.04 in the workflow so the pipeline behavior is predictable.
Build an Intentionally Vulnerable Flask App for CI/CD Security Testing
You can set up a small Python Flask app that’s purposely unsafe for learning. The idea is to include a fake secret, a known outdated dependency, and a simple Dockerfile so the CI/CD pipeline can detect real findings with tools like secret scanners, dependency scanners, and container vulnerability scanners. To do this, follow the steps below:
1. Create the Repository:
- Go to GitHub and create a new repository named devsecops-demo.
- Clone it to your computer or use the Add file button on GitHub to create the following files.
2. Create the Application file:
You can create a file named app.py, which is a simple web server, and add the following code to the file:
1from flask import Flask2 3app = Flask(__name__)4 5@app.route('/')6def hello():7 return "Hello, DevSecOps World! This is a vulnerable app."8 9if __name__ == '__main__':10 11 app.run(debug=True, host='0.0.0.0', port=5000)
Note: debug=True is intentionally insecure and is only used here for a demo. Do not run this in production.
3. Create the dependencies:
At this point, you need to create a file named requirements.txt, and for example, we add an old version of Django intentionally so Trivy detects a vulnerability:
Flask==2.0.1Django==2.1requests==2.19.0
4. Create the Container Config:
Now you can make a file named Dockerfile, which tells Docker how to build your app:
FROM python:3.9-slim WORKDIR /app COPY . /app RUN pip install --no-cache-dir -r requirements.txt EXPOSE 5000 CMD ["python", "app.py"]
5. Add .gitignore and .dockerignore files:
These two files keep your repo clean and help prevent accidental leaks or bloated Docker images.
Create a file named .gitignore and add:
__pycache__/*.pyc.venv/.env
Create a file named .dockerignore and add:
.git.github__pycache__*.pyc.venv.env
6. Create a Fake Secret for Gitleaks:
Finally, you can add a dummy secret in a config file so you can confirm that secret detection is working before moving on to the CI/CD integration steps. Create a file named config_test.py or just secrets.txt and add this FAKE AWS key:
12DB_HOST = "localhost"3DB_PORT = 543245AWS_ACCESS_KEY_ID = "AKIAIOSFODNN7EXAMPLE" 6AWS_SECRET_ACCESS_KEY = "wJalrXUtnFEMI/K7MDENG/bPxRfiCYEXAMPLEKEY"
Configure the DevSecOps CI/CD Workflow
In this step, you can connect everything by creating a single GitHub Actions workflow file that runs automatically on every push and pull request. The workflow file goes in .github/workflows/ and runs all security checks in order, including checking out the repo, scanning for leaked secrets, scanning code and dependencies, scanning the Docker image, then starting the app so a basic DAST scan can test it over HTTP.
This workflow uses standard GitHub Actions configs, including:
- Gitleaks runs with GITHUB_TOKEN.
- Trivy scans either files or images.
- OWASP ZAP scans a target URL with options like cmd_options and fail_action.
Note: This tutorial uses demo mode by default, so the pipeline continues, and you can see full results in the logs:
- exit-code: 0 means Trivy reports findings but won’t fail the job.
- fail_action: false means ZAP reports warnings but won’t fail the job.
If you want a strict pipeline later, you can change:
- Trivy exit-code from 0 to 1
- ZAP fail_action from false to true
You must create the .github/workflows/ directory and create a file in it named devsecops.yml. Then, add the following configuration to the file:
1name: DevSecOps Pipeline2 3on:4 push:5 branches: [ "main" ]6 pull_request:7 branches: [ "main" ]8 9permissions:10 contents: read11 security-events: write12 13jobs:14 15 security-check:16 runs-on: ubuntu-24.0417 steps:18 - name: Checkout Code19 uses: actions/checkout@v420 with:21 fetch-depth: 0 22 23 24 - name: Gitleaks Secret Scan25 uses: gitleaks/gitleaks-action@v226 env:27 GITHUB_TOKEN: ${{ secrets.GITHUB_TOKEN }}28 29 30 - name: Trivy FS Scan (Dependencies)31 uses: aquasecurity/trivy-action@master32 with:33 scan-type: 'fs'34 scan-ref: '.'35 hide-progress: false36 format: 'table'37 severity: 'CRITICAL,HIGH'38 ignore-unfixed: true39 exit-code: '0' 40 41 42 build-and-scan:43 needs: security-check44 runs-on: ubuntu-24.0445 steps:46 - name: Checkout Code47 uses: actions/checkout@v448 49 50 - name: Build Docker Image51 run: |52 docker build -t myapp:${{ github.sha }} .53 54 55 - name: Trivy Image Scan56 uses: aquasecurity/trivy-action@master57 with:58 image-ref: 'myapp:${{ github.sha }}'59 format: 'table'60 severity: 'CRITICAL,HIGH'61 ignore-unfixed: true62 exit-code: '0' 63 64 65 dast-scan:66 needs: build-and-scan67 runs-on: ubuntu-24.0468 steps:69 - name: Checkout Code70 uses: actions/checkout@v471 72 73 - name: Run App Container74 run: |75 docker build -t myapp:${{ github.sha }} .76 77 docker run -d -p 5000:5000 --name test-app myapp:${{ github.sha }}78 sleep 10 79 80 81 - name: OWASP ZAP Baseline Scan82 uses: zaproxy/action-baseline@v0.14.083 with:84 target: 'http://localhost:5000'85 cmd_options: '-a' 86 fail_action: false
Run the CI/CD Pipeline and Verify Results
Now it’s time to run the workflow and confirm each security stage is working.
You must add all files, including app.py, Dockerfile, requirements.txt, config.py, and .github/workflows/devsecops.yml to the main branch.
Then, go to your GitHub repository page, click on the Actions tab at the top, and you will see a workflow run named DevSecOps Pipeline. Click on it, and you will see:
- Gitleaks: May fail if it detects the dummy secret you added, since it’s designed to catch hardcoded keys and tokens.
- Trivy (FS/Image): Will print vulnerability findings, and whether the job fails depends on the exit-code setting you choose.
- OWASP ZAP Baseline: Often reports warnings for missing security headers, such as X-Frame-Options, when scanning a basic demo app.
If you want to run these scans beyond GitHub-hosted runners, PerLod's affordable VPS plans are a good fit for most small to mid projects, while Dedicated Server Hosting is better for heavier CI workloads and full isolation.
Conclusion
DevSecOps CI/CD integration is one of the easiest ways to improve security without slowing delivery, because the pipeline continuously checks every change. With this setup, the repository gets scanned for leaked secrets, vulnerable dependencies, risky container layers, and basic runtime web issues before the code reaches production.
Trivy and OWASP ZAP can be configured in demo mode for learning or switched to strict mode to block releases when serious findings are detected.
We hope you enjoy this guide. Subscribe to our X and Facebook channels to get the latest updates and articles.
For further reading:
Automated File Backups with Linux Bash Scripting
VPS Security Monitoring with Wazuh SIEM
Securely Manage Secrets with HashiCorp Vault